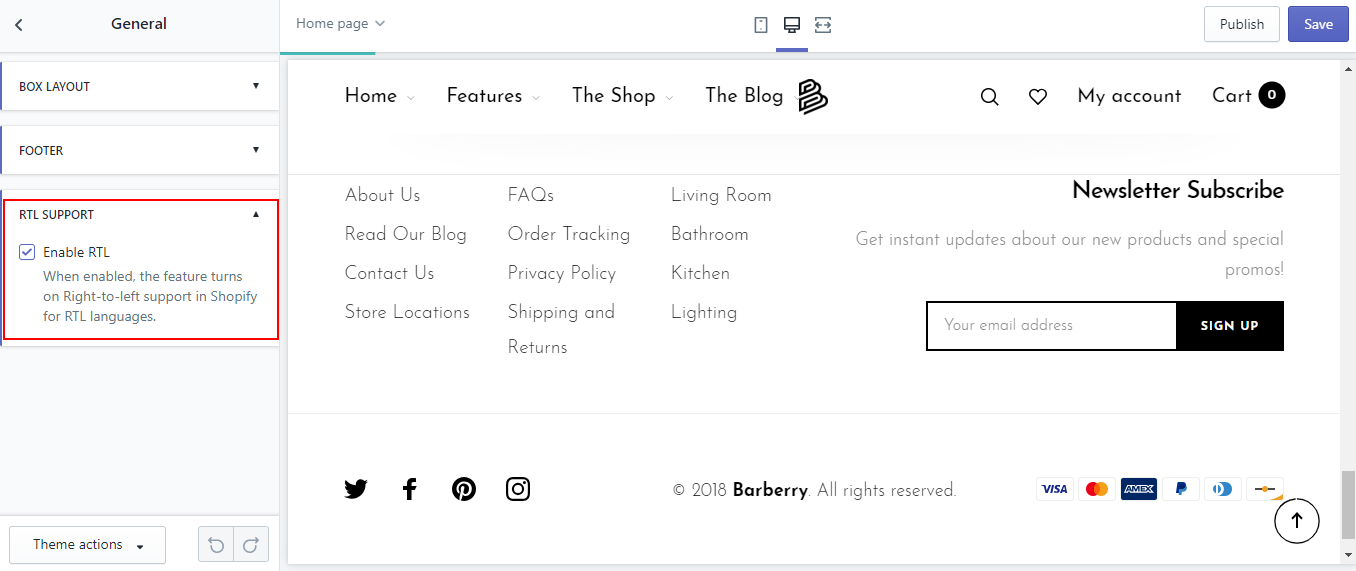
Theme Settings
General
In the Online Store / Customize, in tab Theme settings find and click General
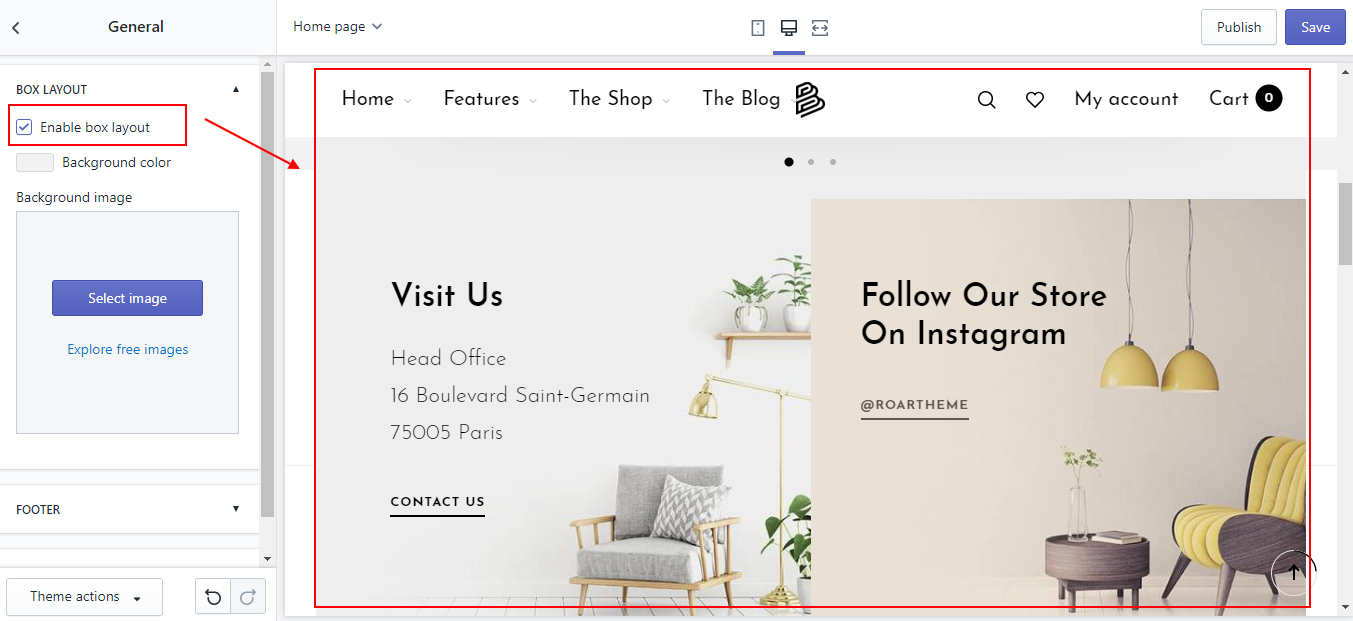
Box layout
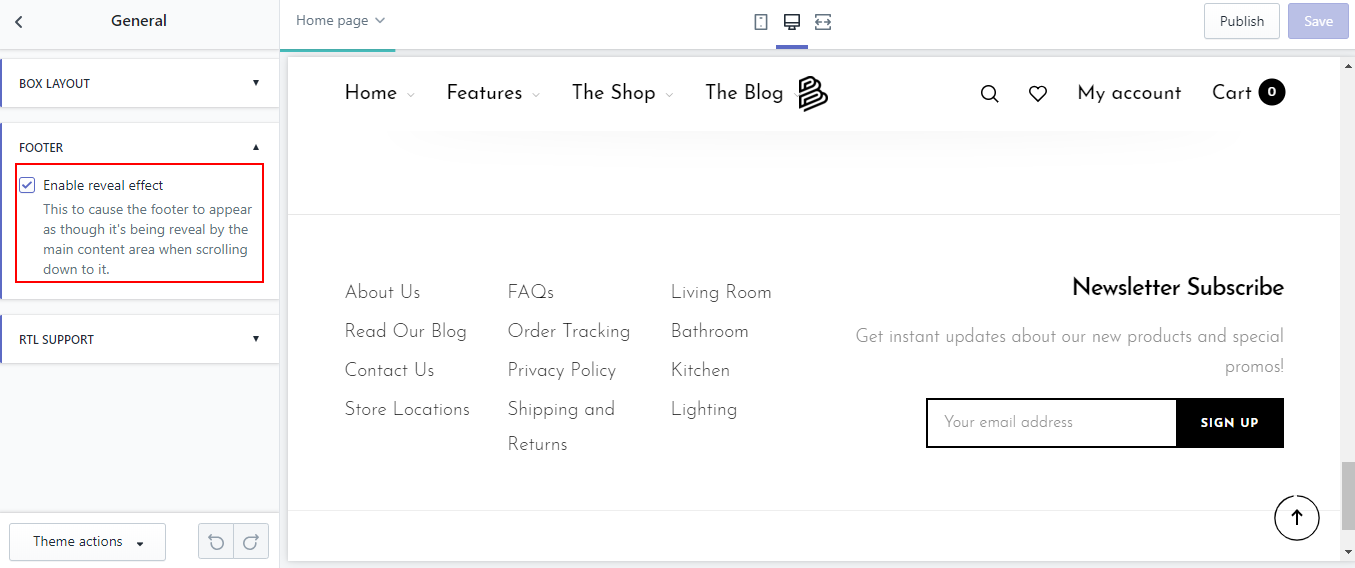
Footer
This to cause the footer to appear as though it's being reveal by the main content area when scrolling down to it.
RTL Support
When enabled, the feature turns on Right-to-left support in Shopify for RTL languages.
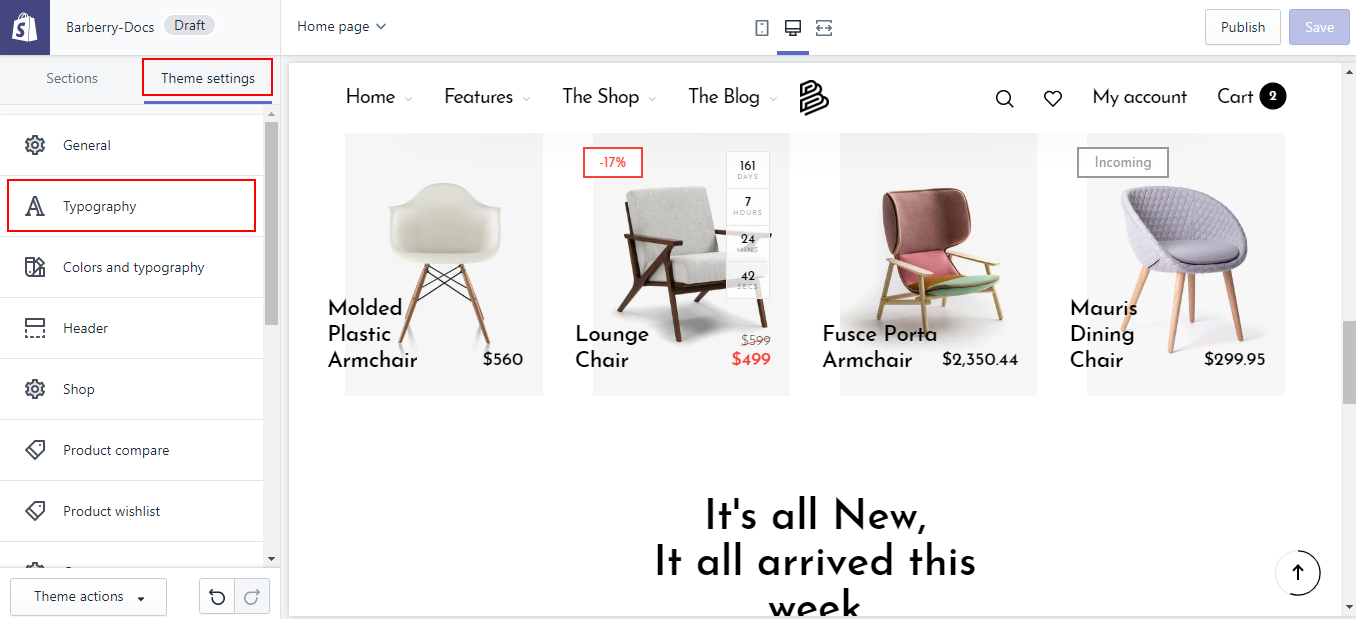
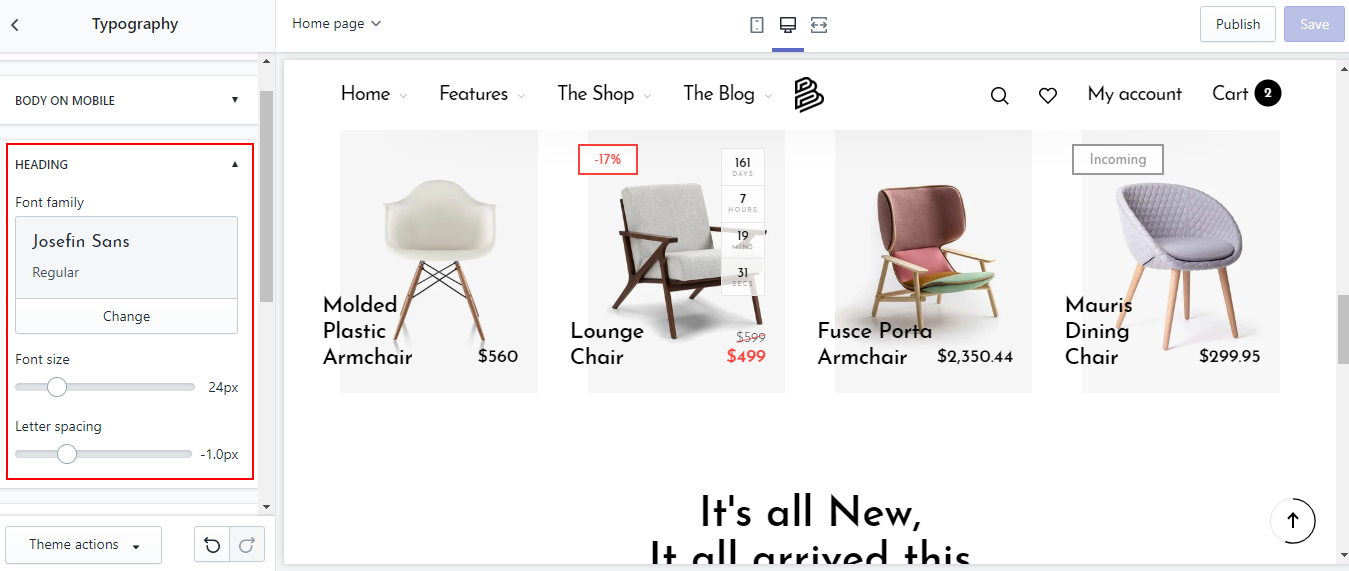
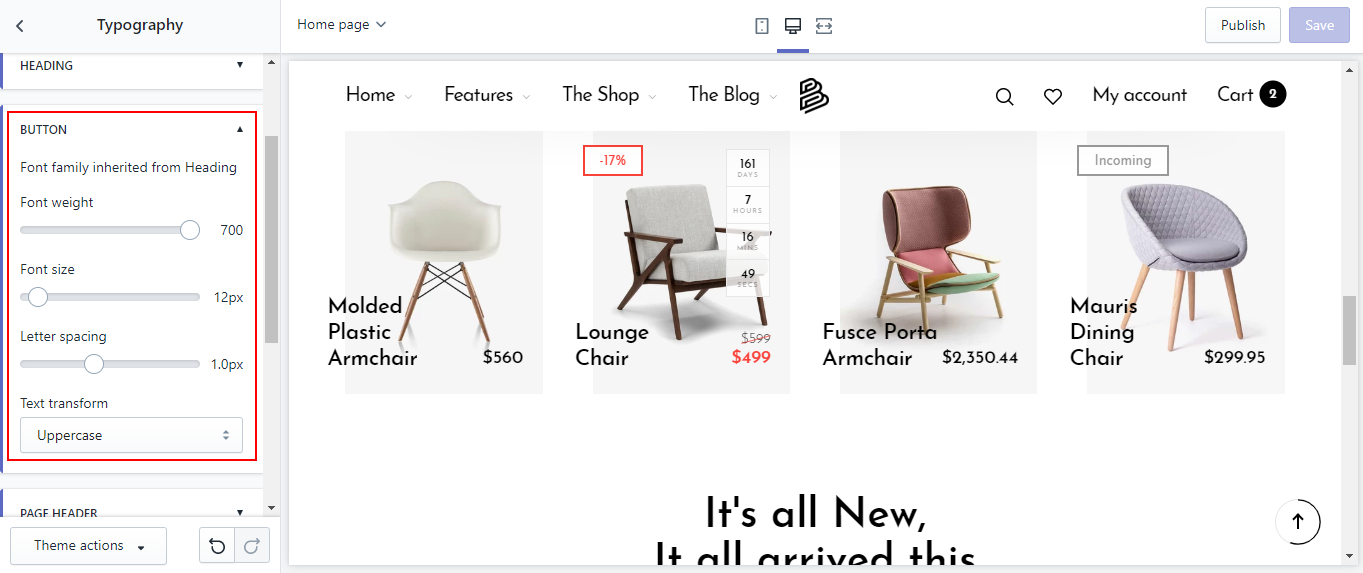
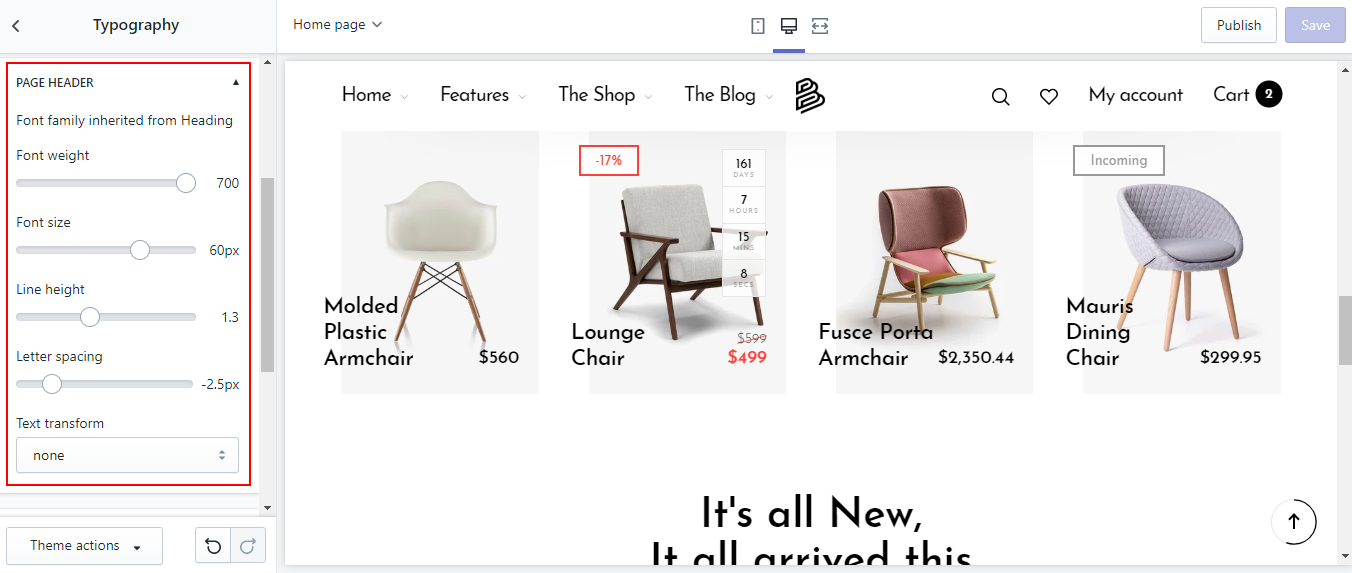
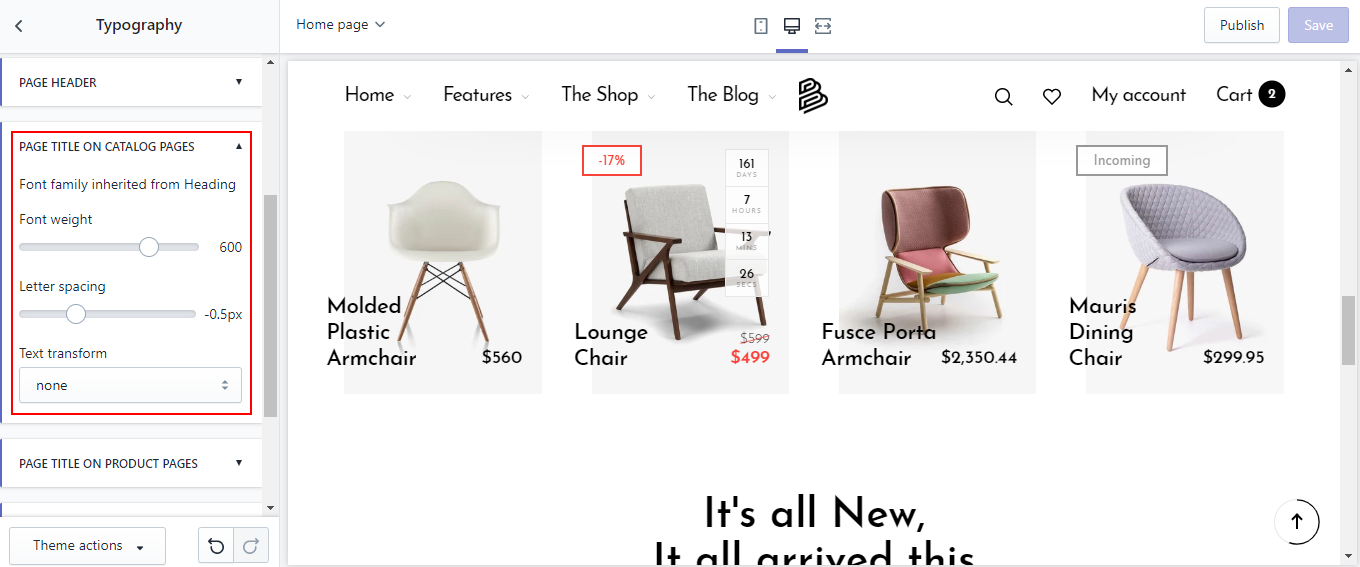
Typography
In the Online Store / Customize, in tab Theme settings find and click Typography
Body
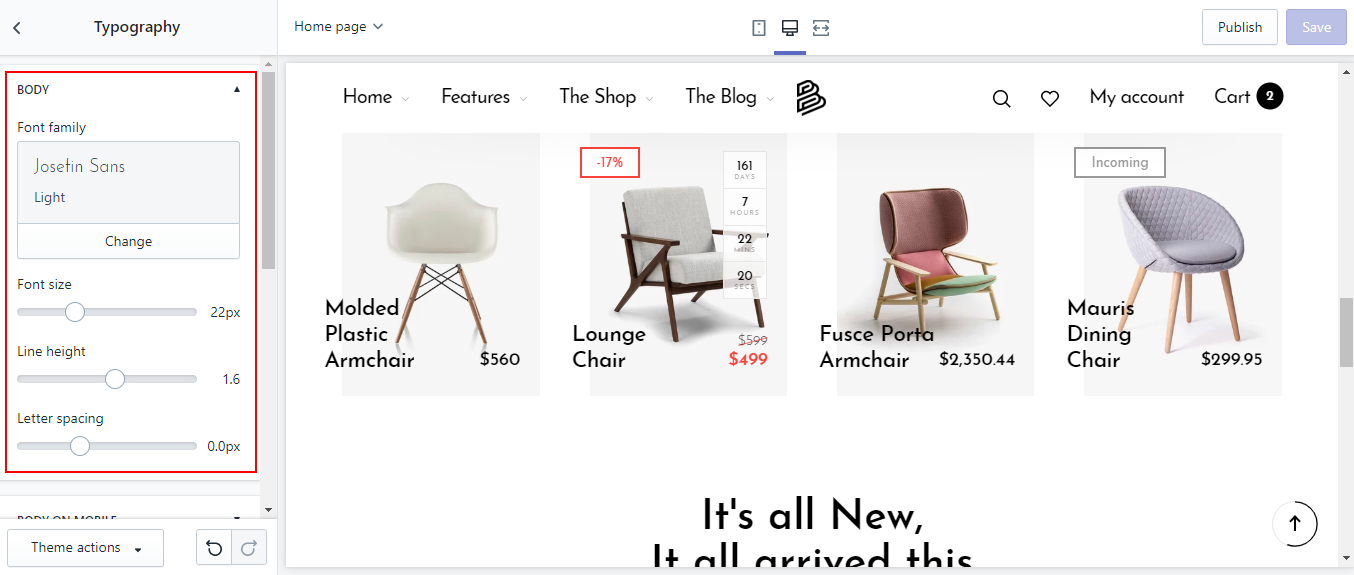
Body on mobile
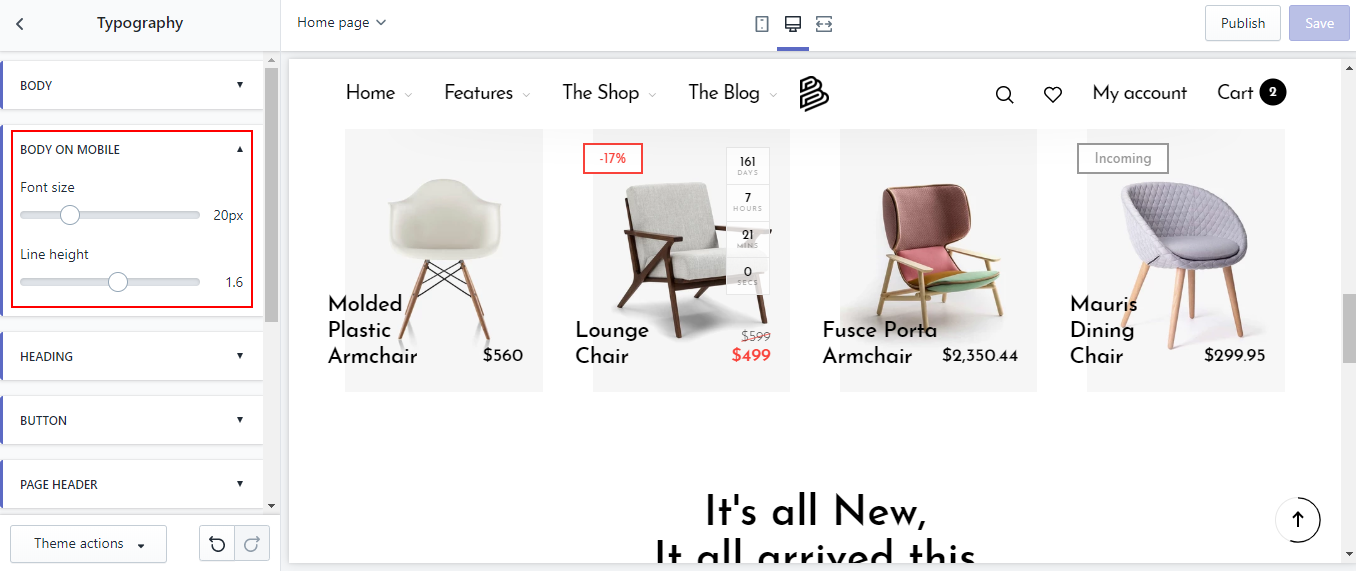
Heading
Button
Page header
Page title on catalog pages
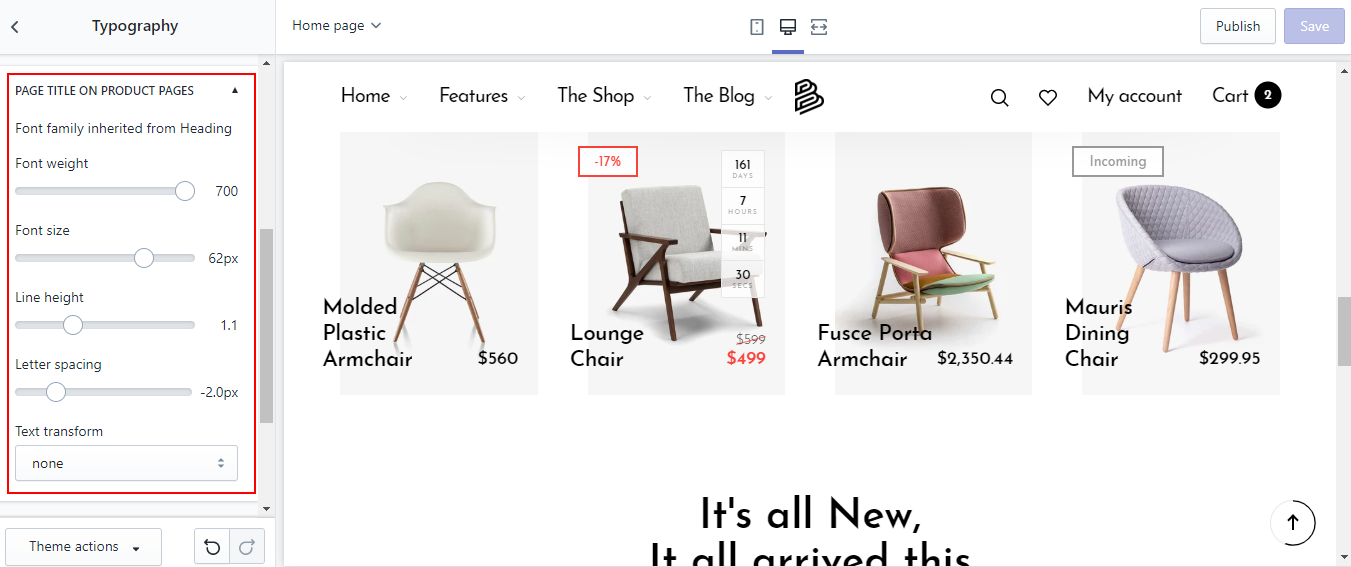
Page title on product pages
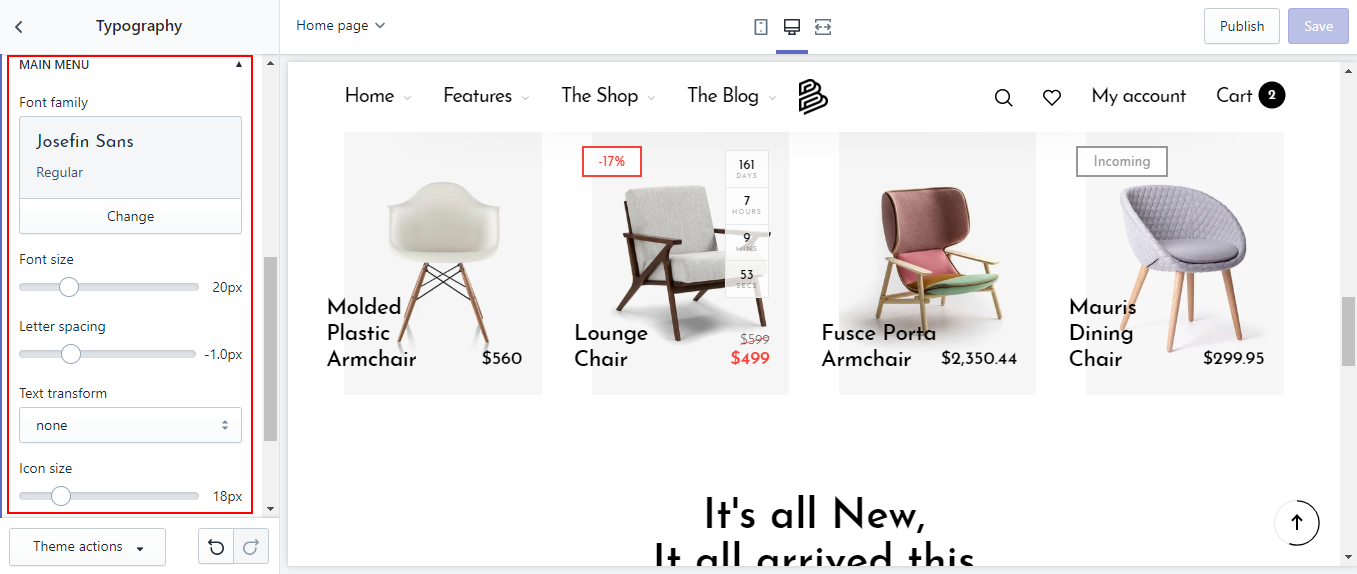
Main menu
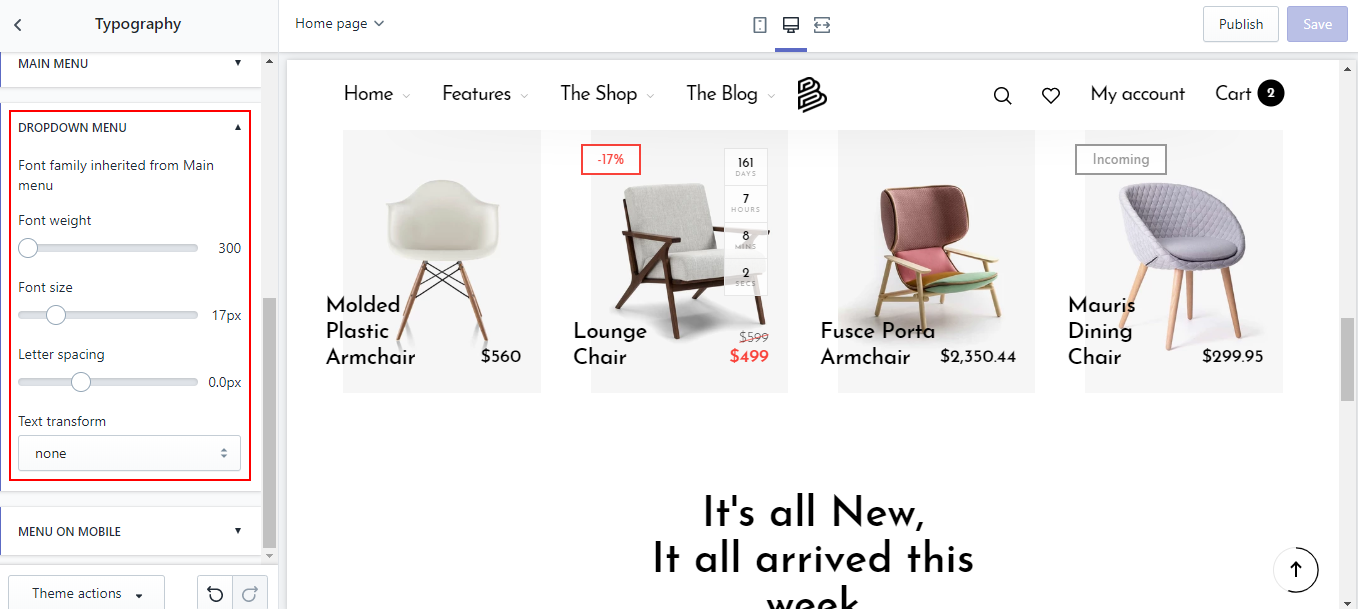
Dropdown menu
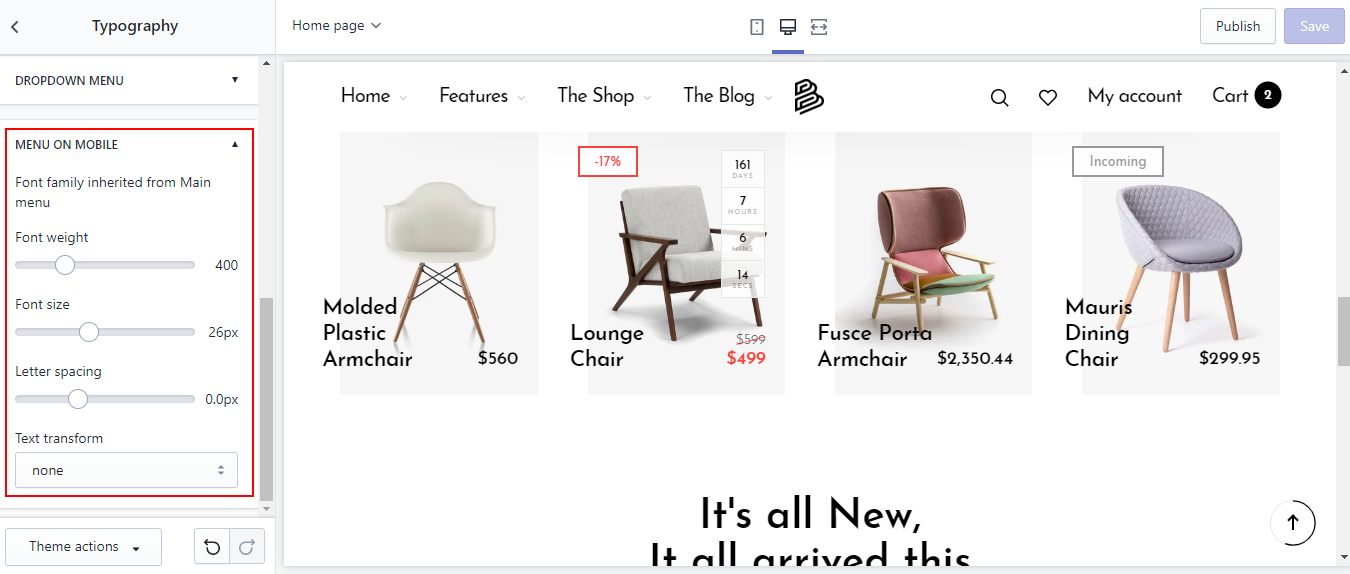
Menu on mobile
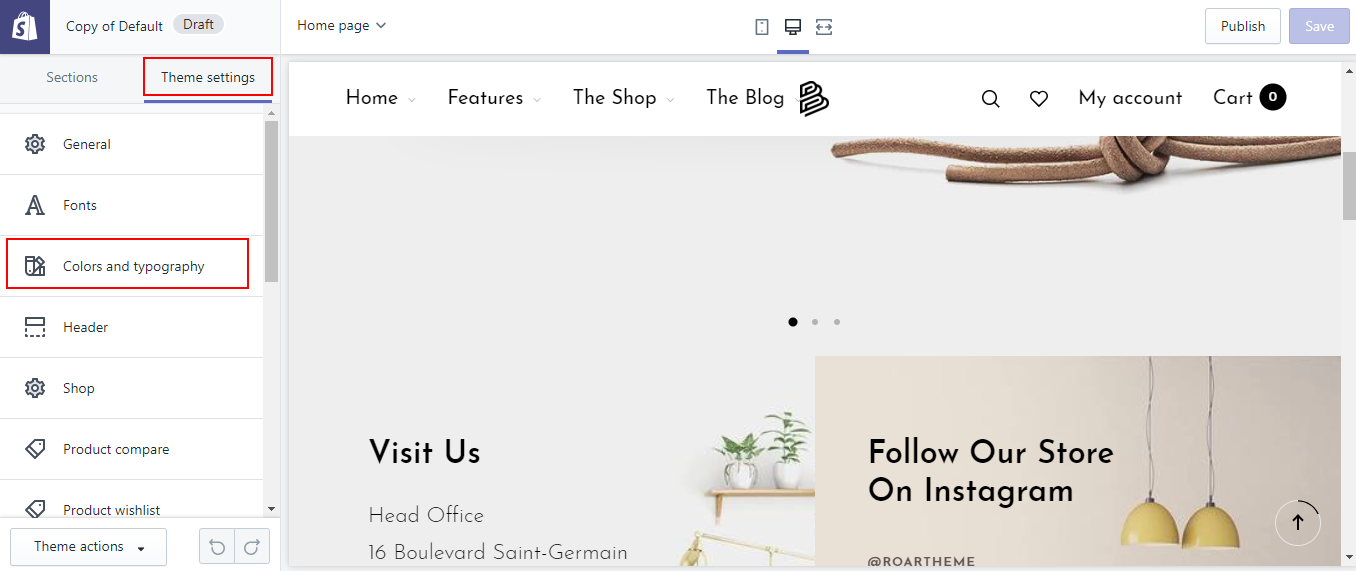
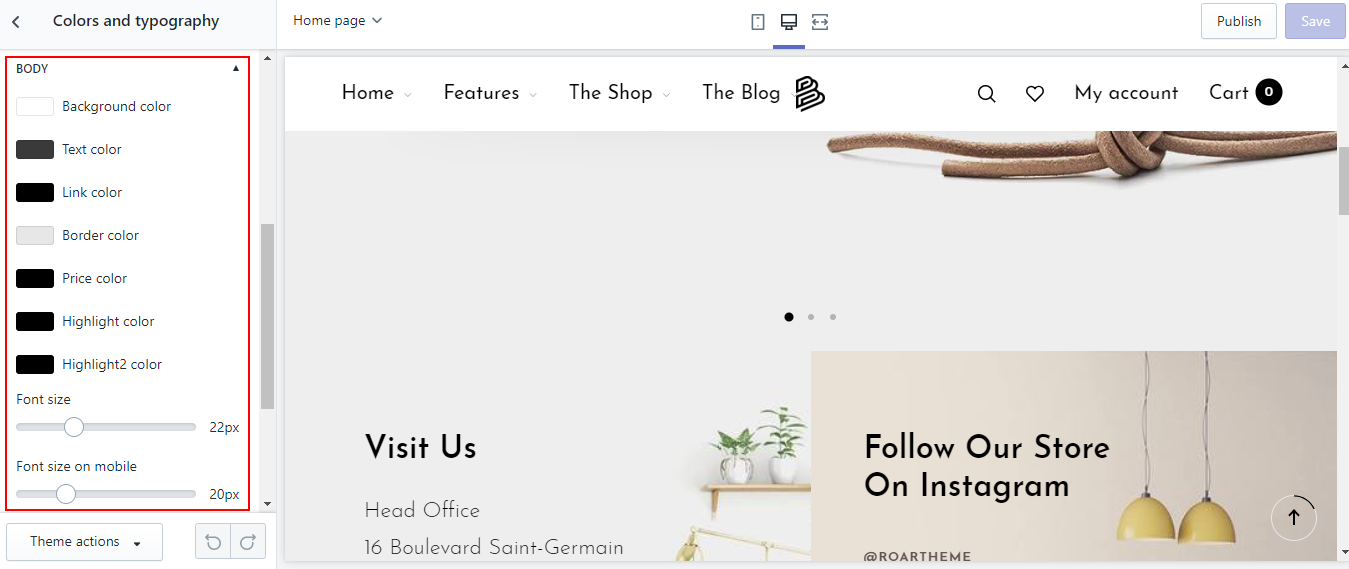
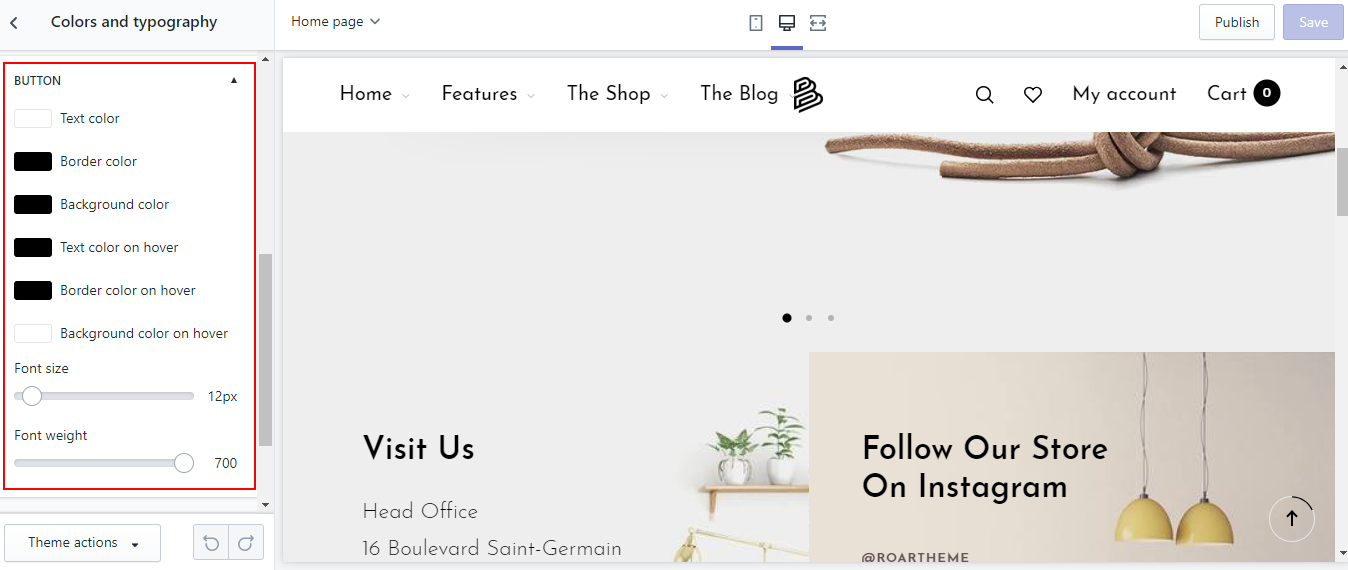
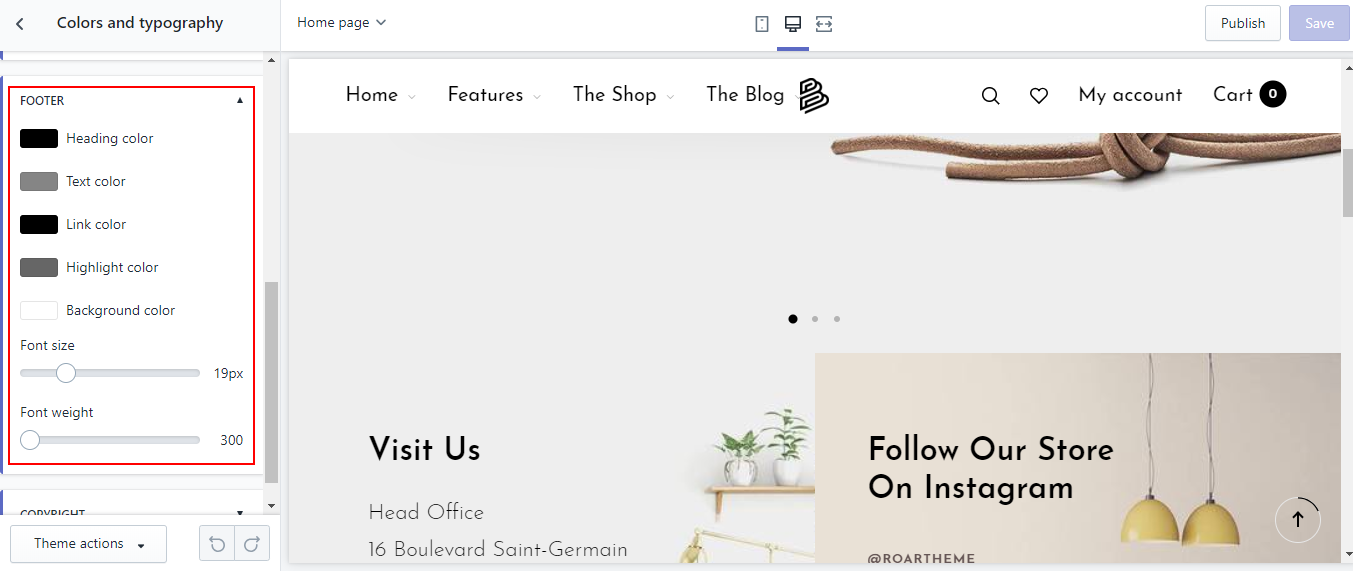
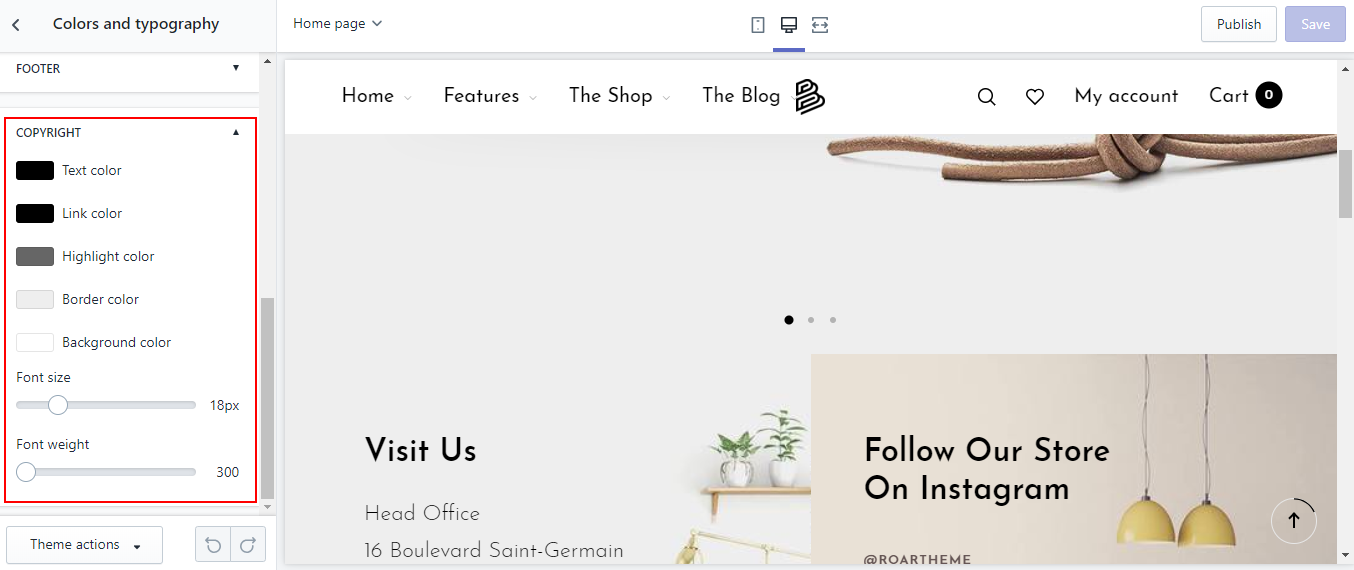
Colors and typography
In the Online Store / Customize, in tab Theme settings find and click Colors and typography
Top Bar

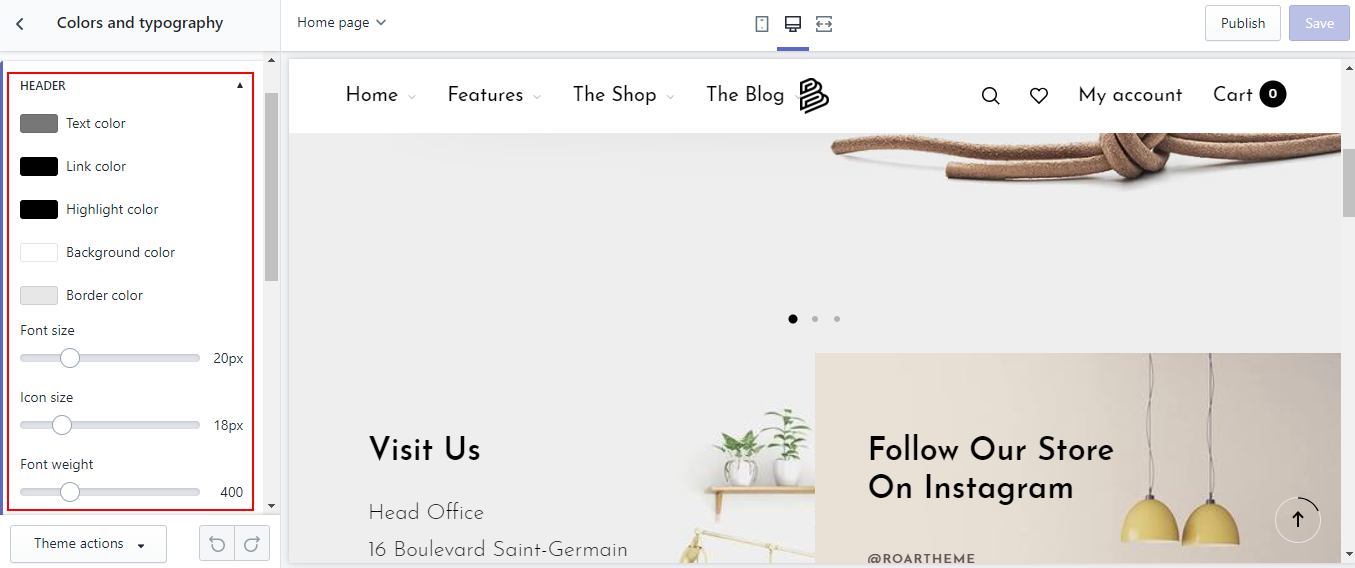
Header
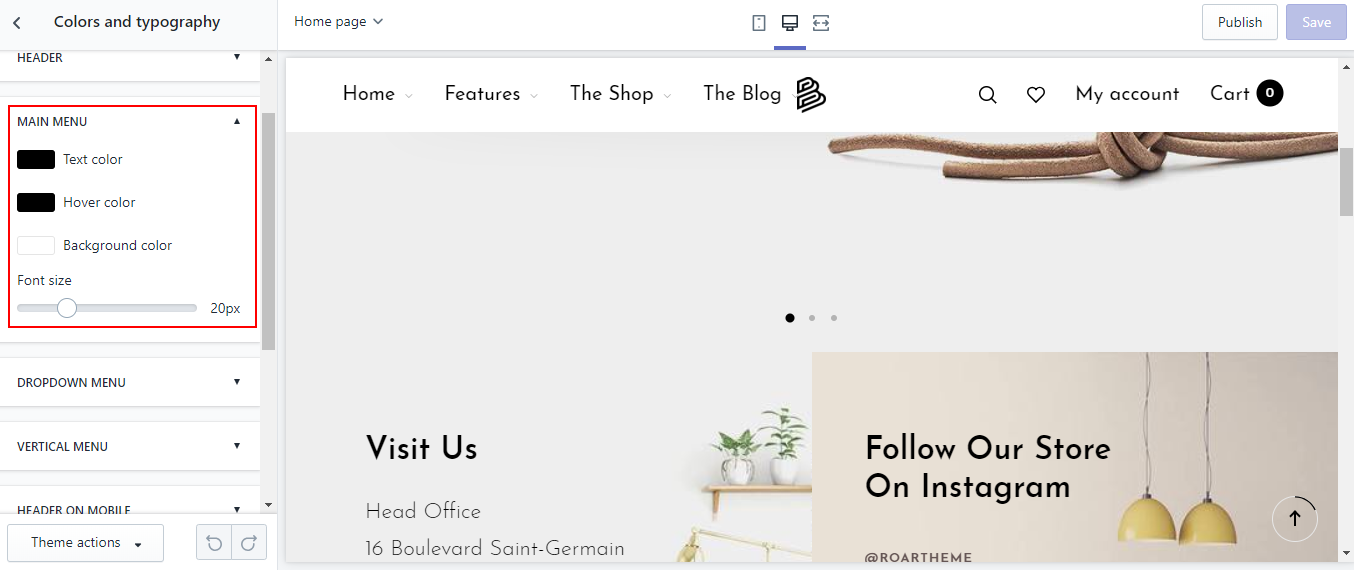
Main menu
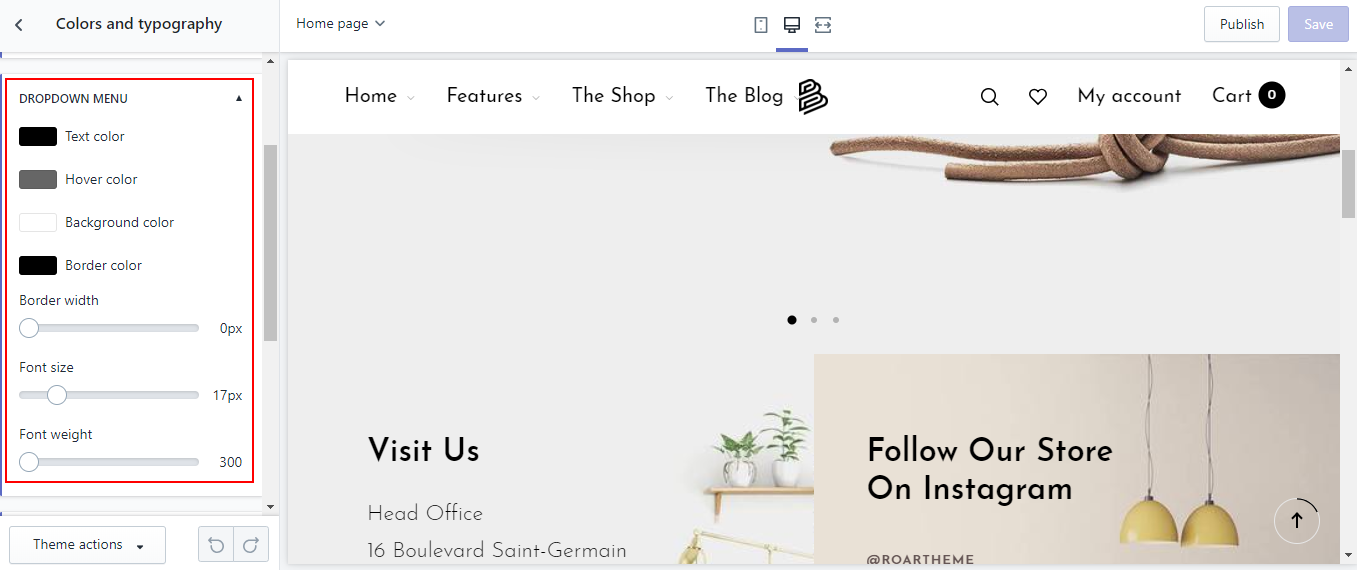
Dropdown menu
Header on mobile

Body
Button
Footer
Copyright
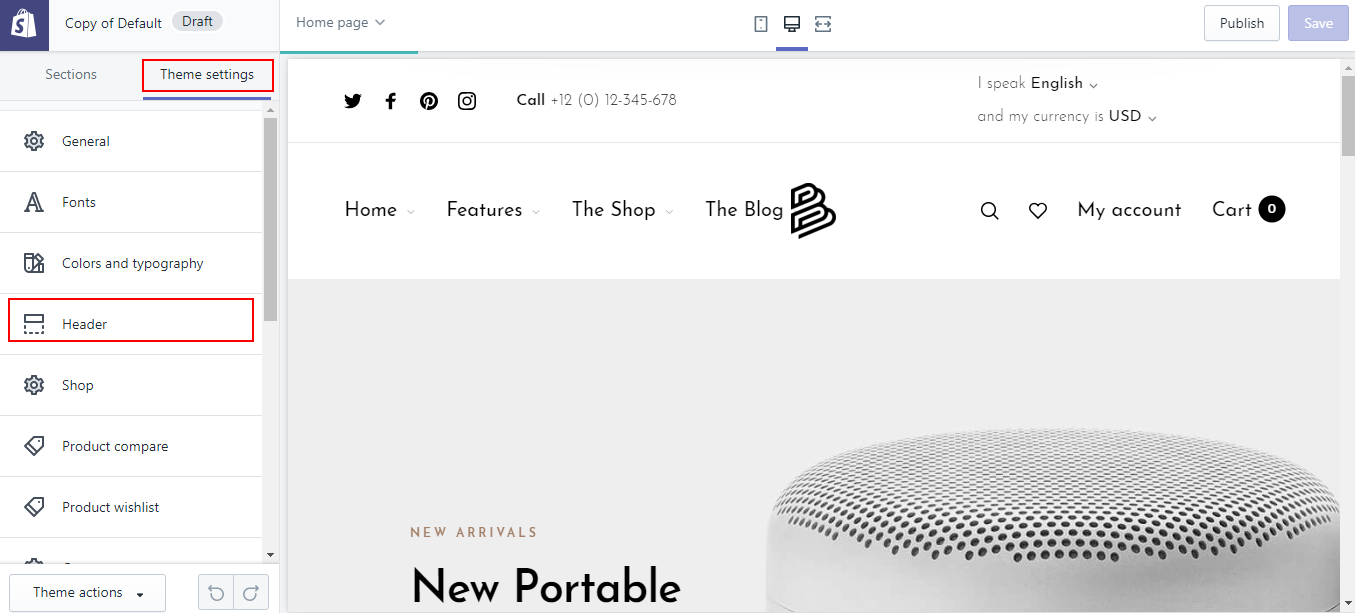
Header
In the Online Store / Customize, in tab Theme settings find and click Header
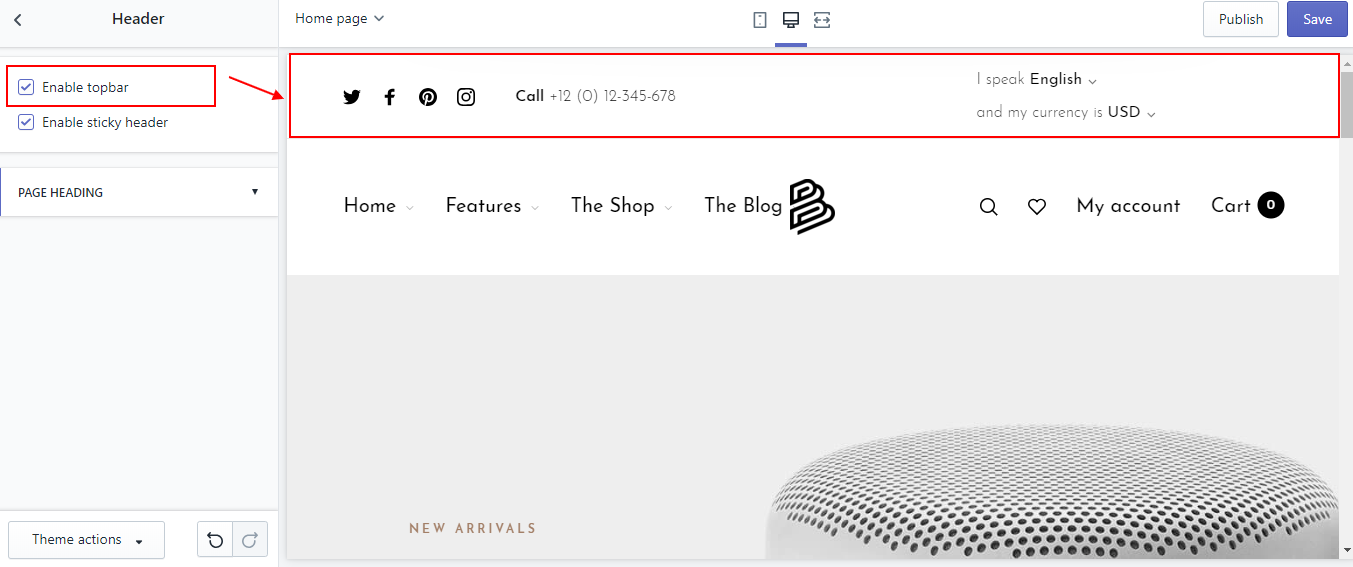
Top bar
Step 1: Enable Top bar
In the Online Store / Customize, in tab Theme settings find and click Header then click Enable topbar
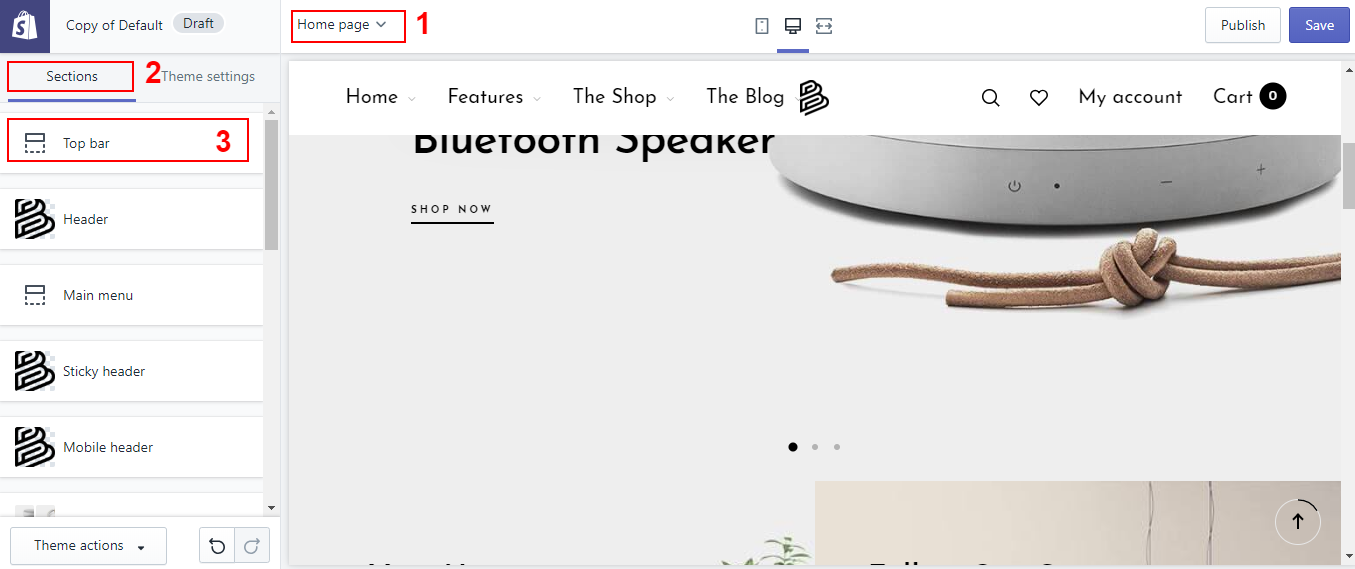
Step 2: Add content
- In your Customize Theme screen, select Home pages
- Under the Sections tab
- Click Top bar
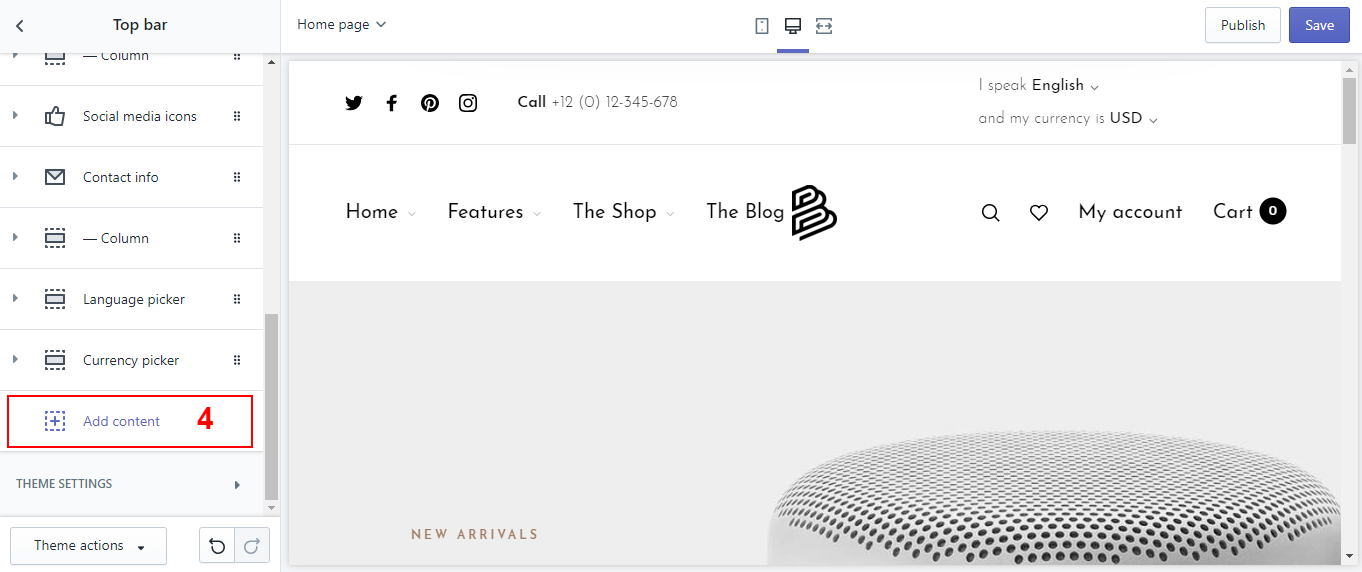
- Click Add content
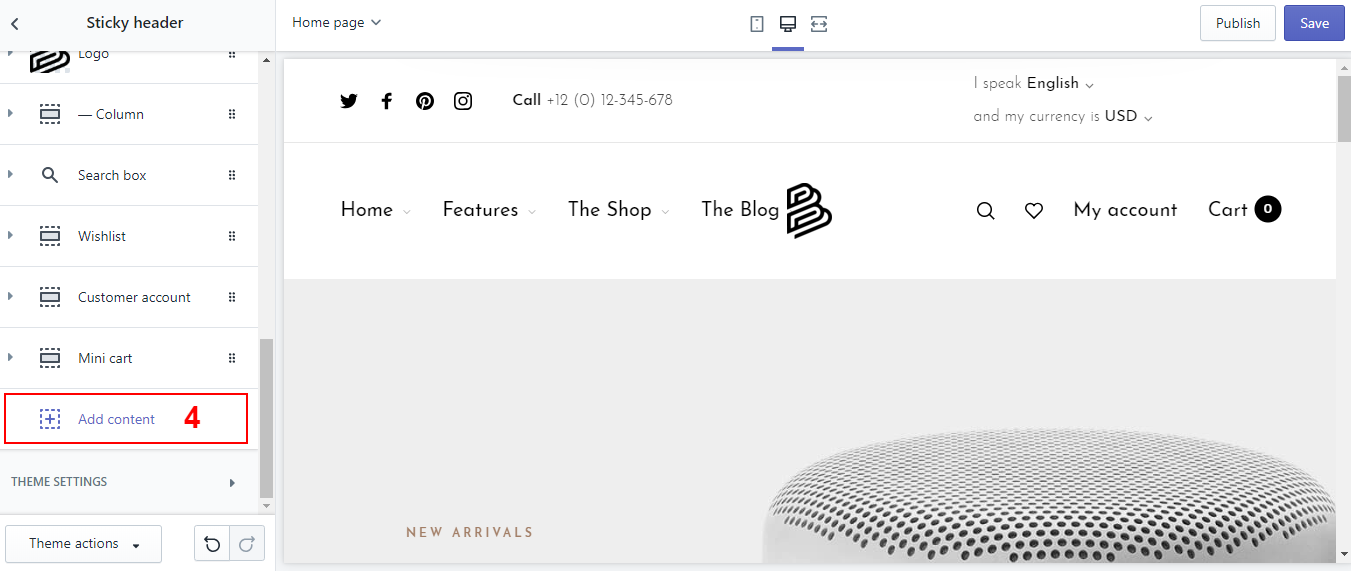
Sticky header
Sticky navigation is a term used to describe a fixed navigation menu on a webpage that remains visible and in the same position as the user scrolls down and moves about a site. Persistent navigation bars - or “sticky headers” - are now a web design standard.
Step 1: Enable sticky header
In the Online Store / Customize, in tab Theme settings find and click Header then click Enable topbar

Step 2: Add content
- In your Customize Theme screen, select Home pages
- Under the Sections tab
- Click Sticky header
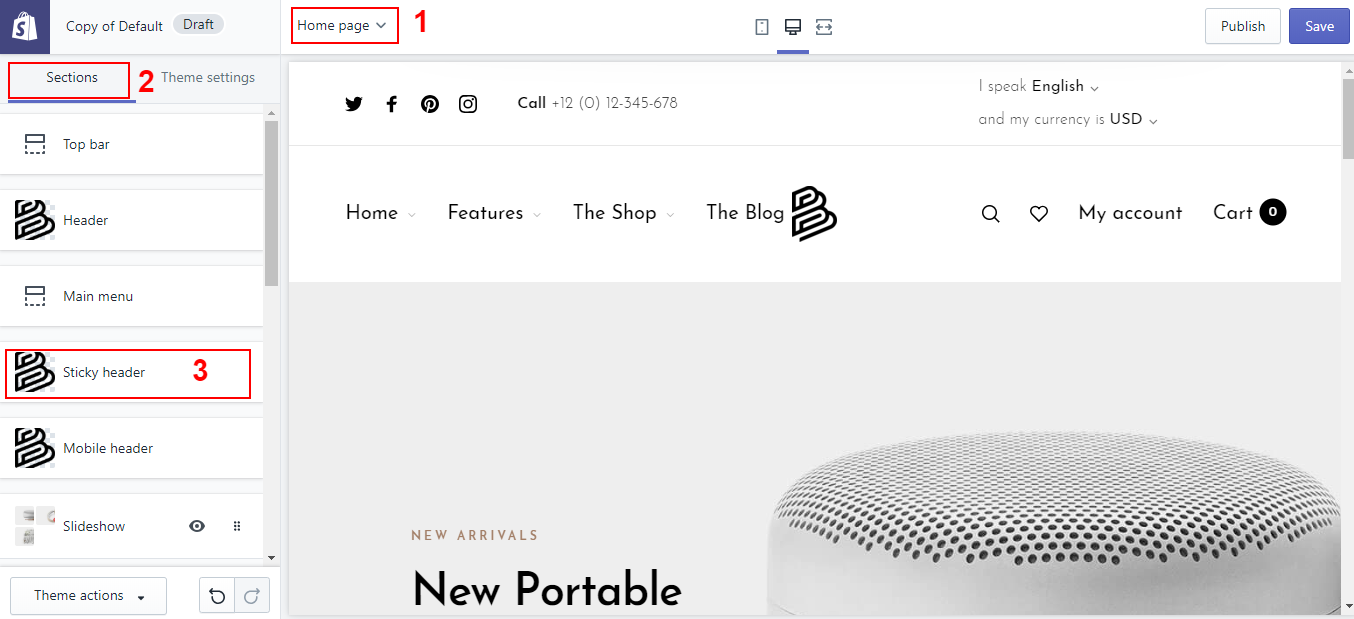
- Click Add content
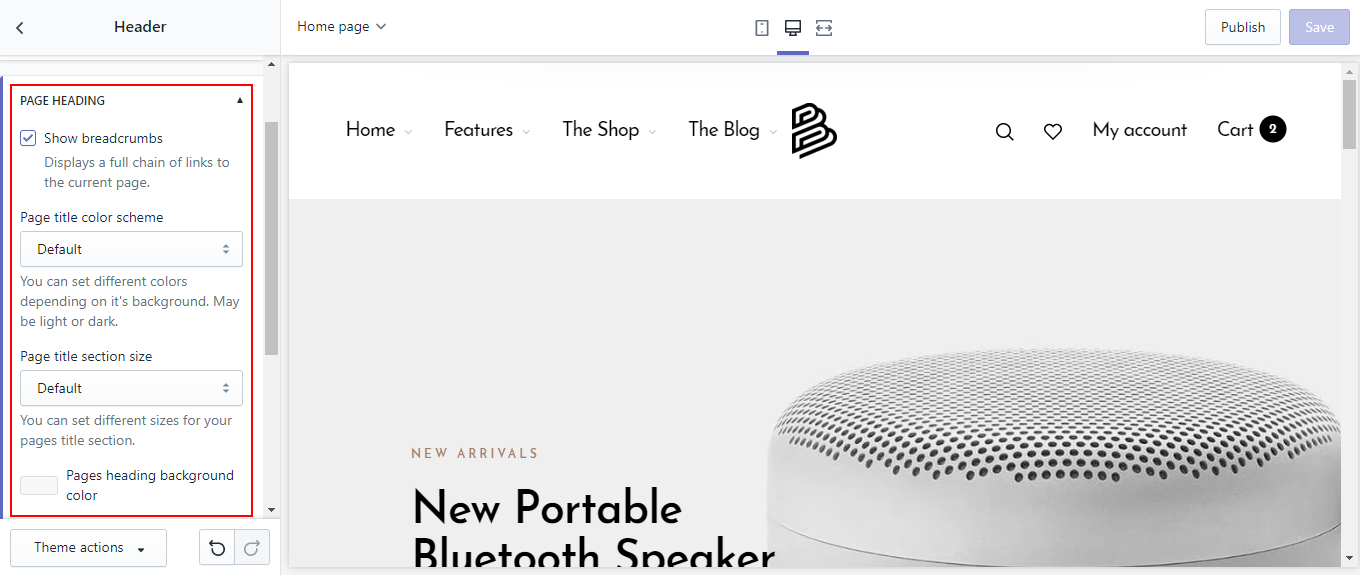
Page heading
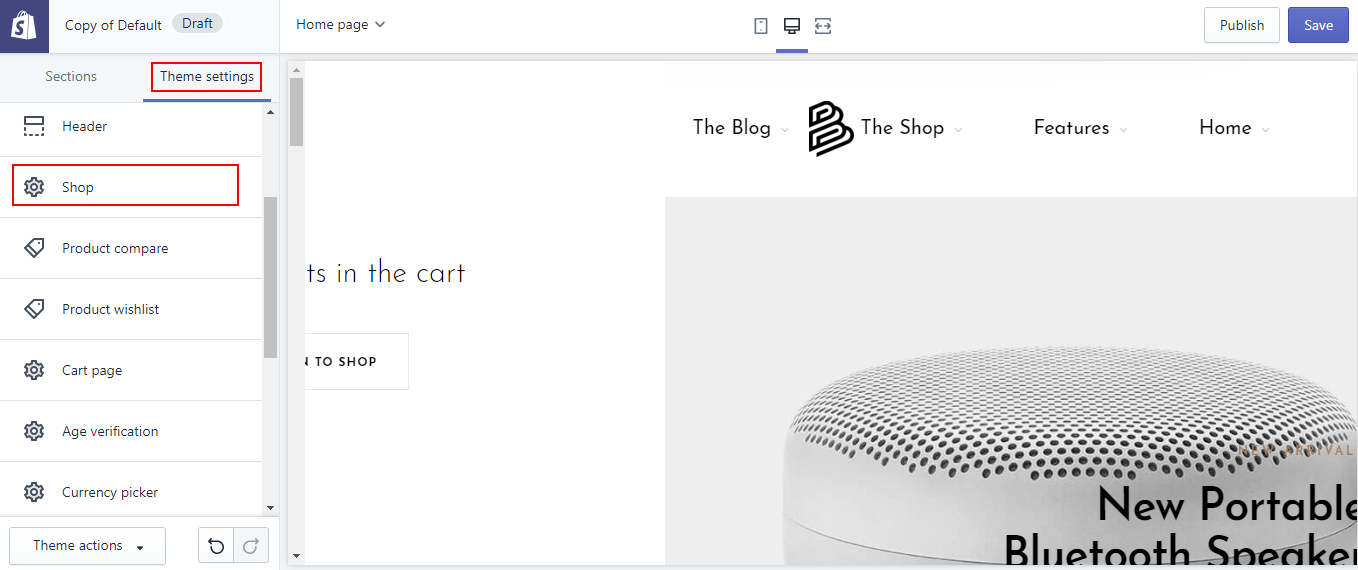
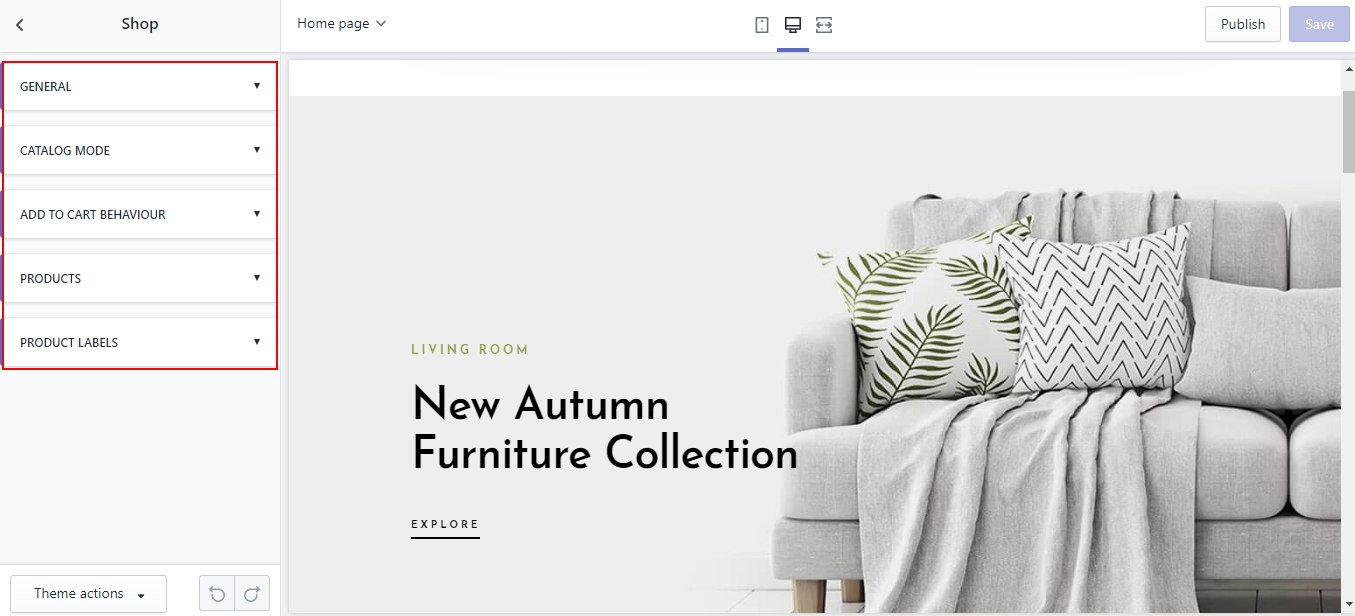
Shop
In the Online Store / Customize, in tab Theme settings find and click Shop
General
Enable color swatches
In the Online Store / Customize, in tab Theme settings find and click Shop then click Enable color swatches
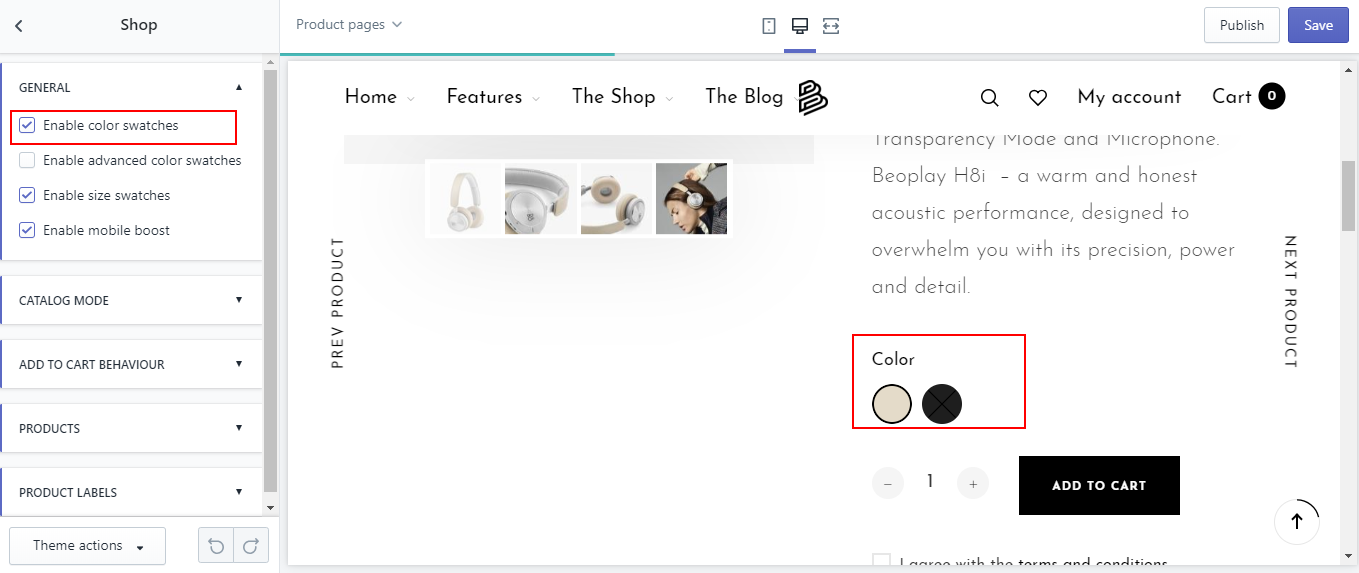
The colors of the variant will be taken from the image saved in assets(Priority level 3).
Please name the image exactly as the product color and must use the .png image

Please refer link below for details.
https://www.youtube.com/watch?time_continue=2&v=ig9w9tR_4KU
Enable advanced color swatches
In the Online Store / Customize, in tab Theme settings find and click Shop then click Enable advanced color swatches
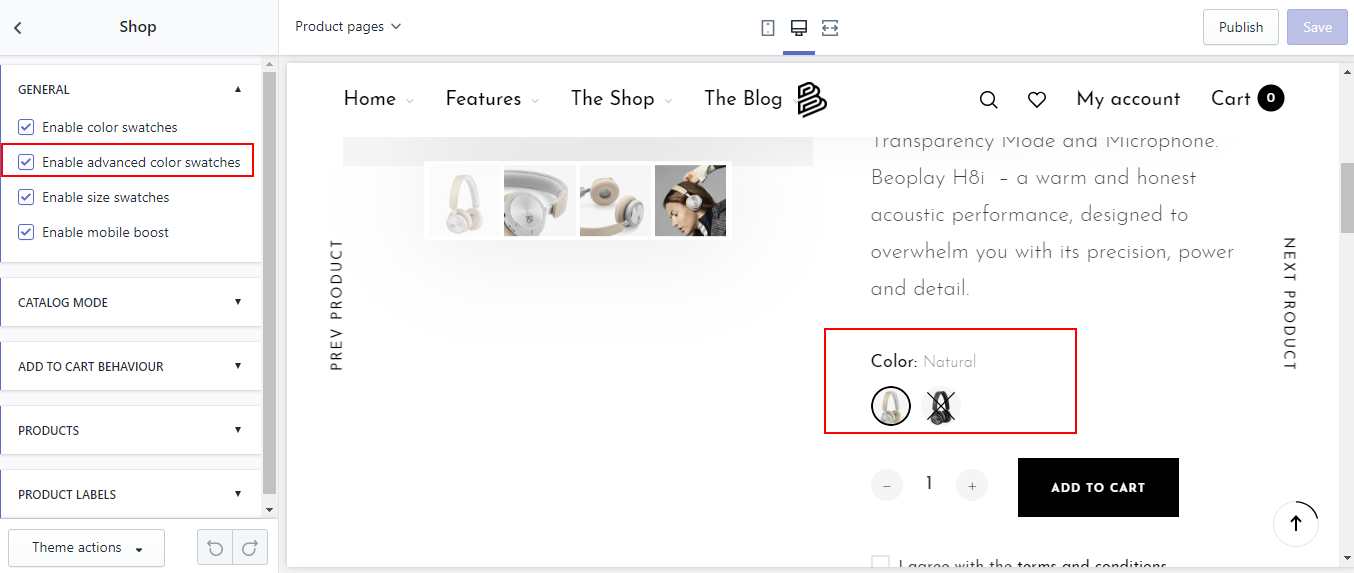
Color images of variations will be taken at 2 sources:
- Metafiles(Priority level 1) This is the priority level 1, but you can download the app metafiles to use it. Advantages: You can specify any image for each variation of the product. Link:http://wiki.roartheme.com/clientapps/#metafields-manager
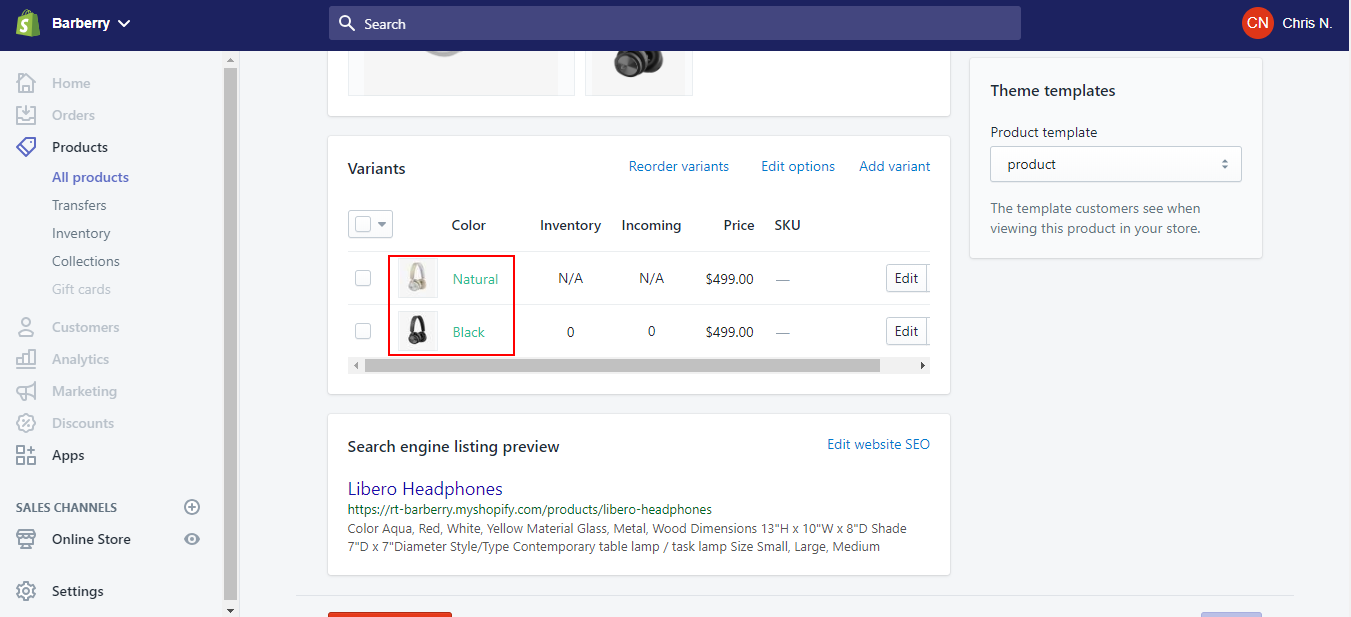
- Images of variants are added when adding product(Priority level 2).To use this option, when you add the variant to the product, please add an image for each variant.
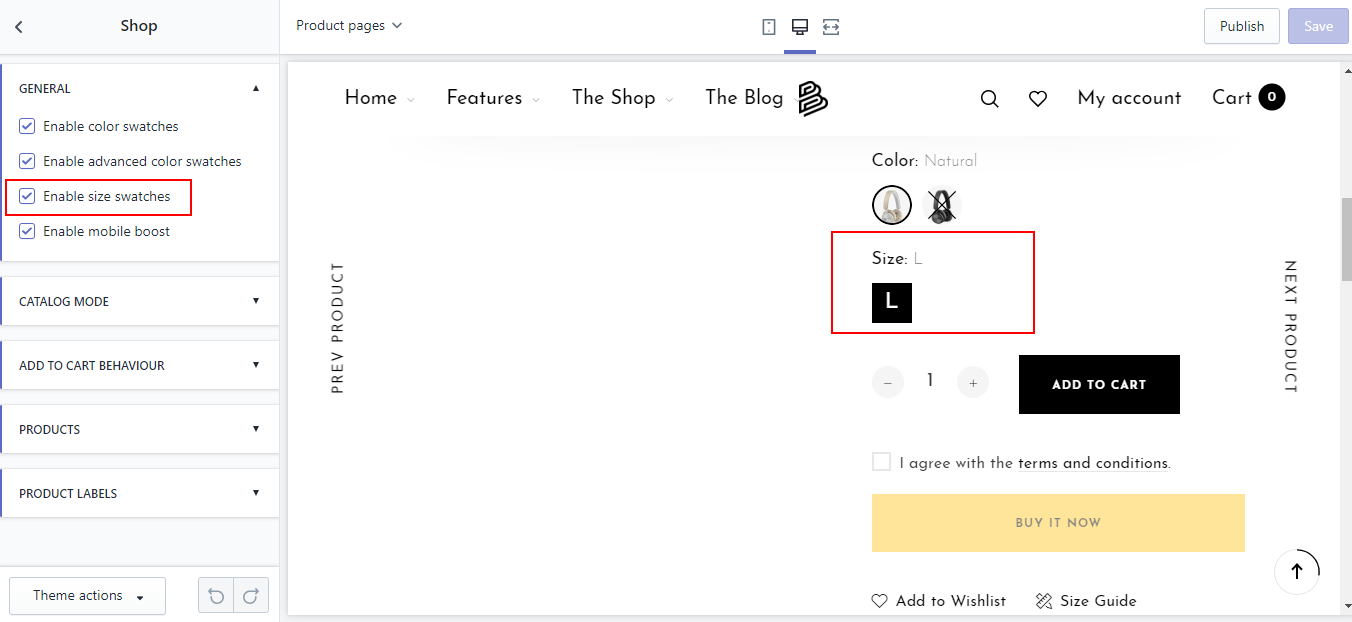
Enable size swatches
In the Online Store / Customize, in tab Theme settings find and click Shop then click Enable size swatches
Enable mobile boots
On mobile mode and product page when scrolling down will have a sticky bar with the add to cart button with the included variants.
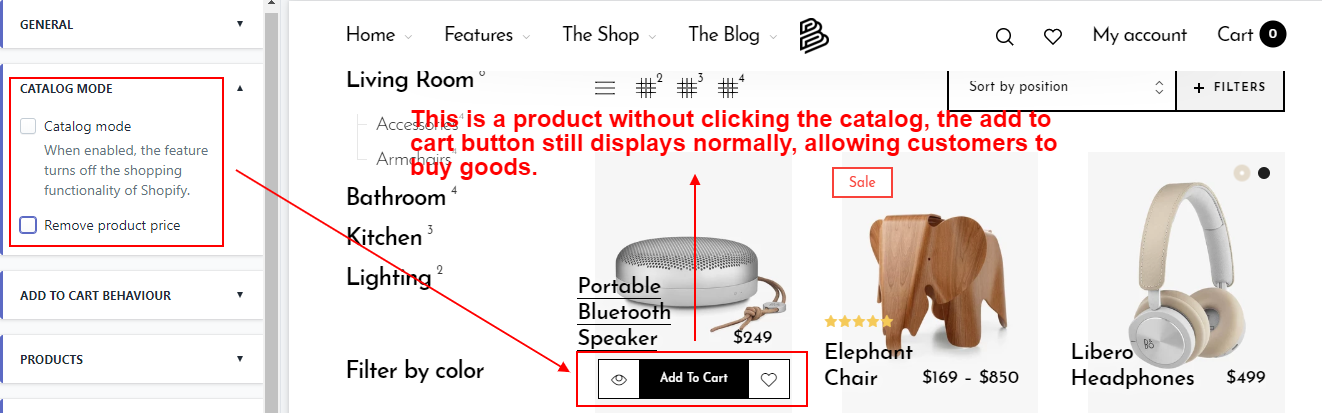
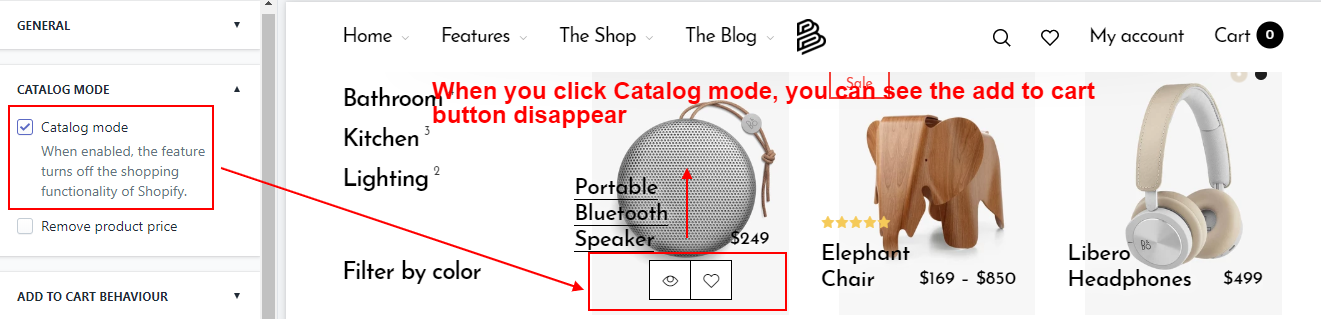
Catalog mode
In the Online Store / Customize, in tab Theme settings find and click Shop then click Catalog mode
When enabled, the feature turns off the shopping functionality of Shopify.
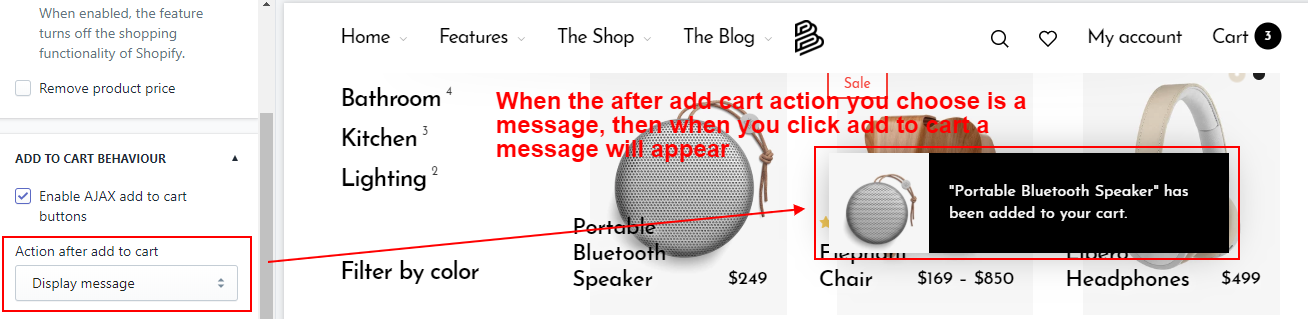
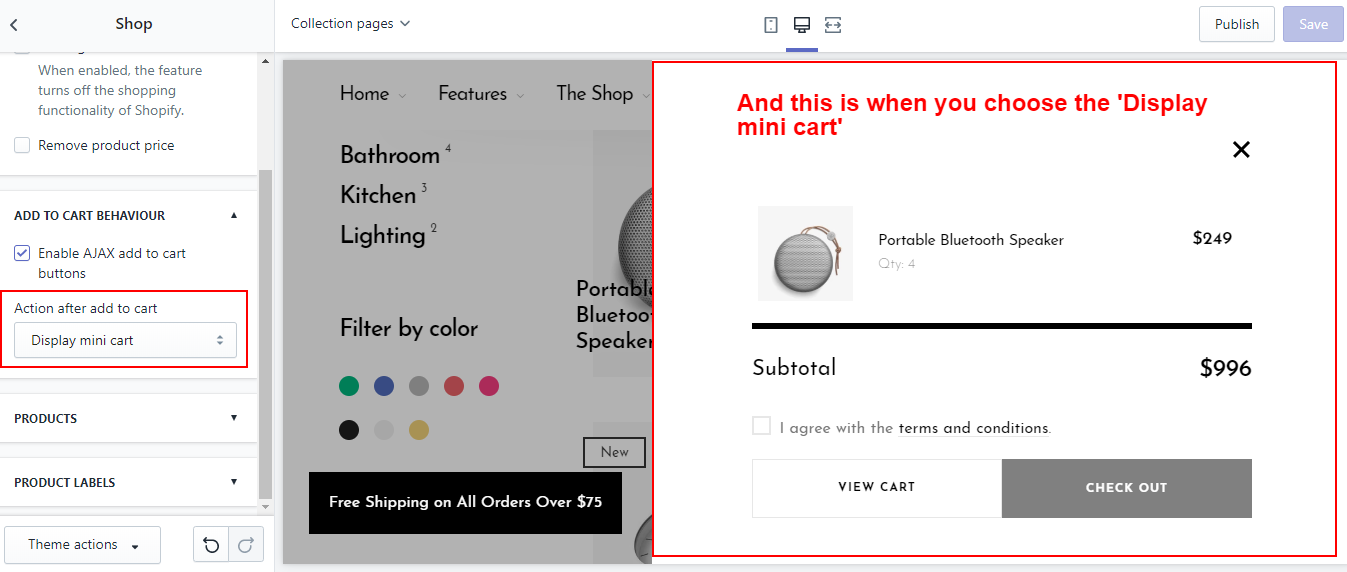
Add to cart behavior
In the Online Store / Customize, in tab Theme settings find and click Shop then click Add to cart behavior
Here you can enable Ajax for the add to cart action and the type of cart.
Display message:
Display mini cart:
And Redirect to the cart page: If you choose this action, after clicking add to cart you will be taken to the cart page.
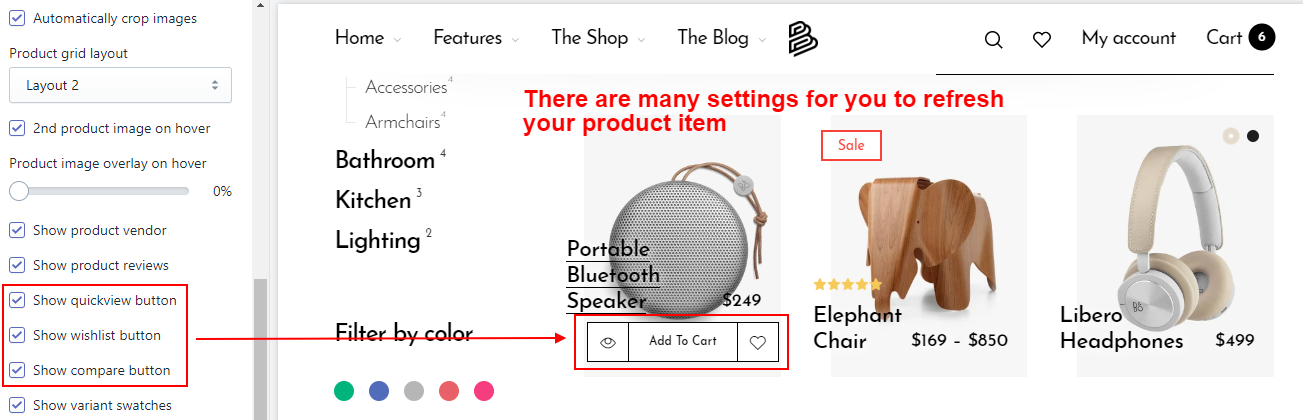
Products
In the Online Store / Customize, in tab Theme settings find and click Shop then click Product
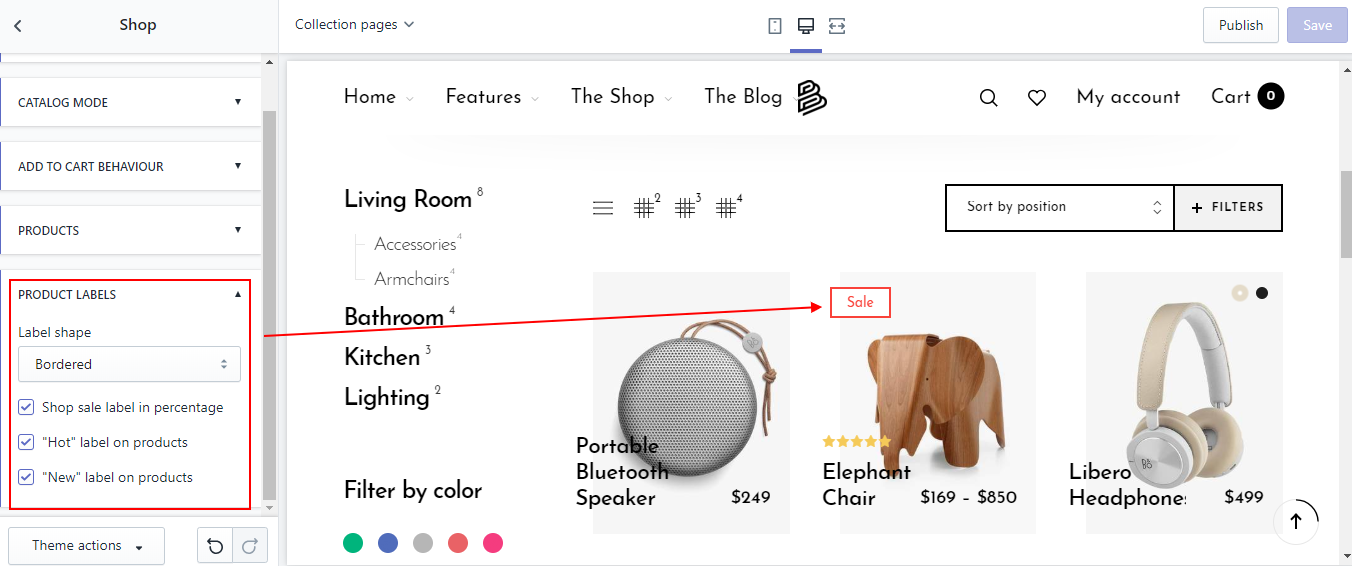
Product labels
In the Online Store / Customize, in tab Theme settings find and click Shop then click Product labels
Product compare
Set Up Compare Option
Go to: Customize theme > Theme settings > Product Compare
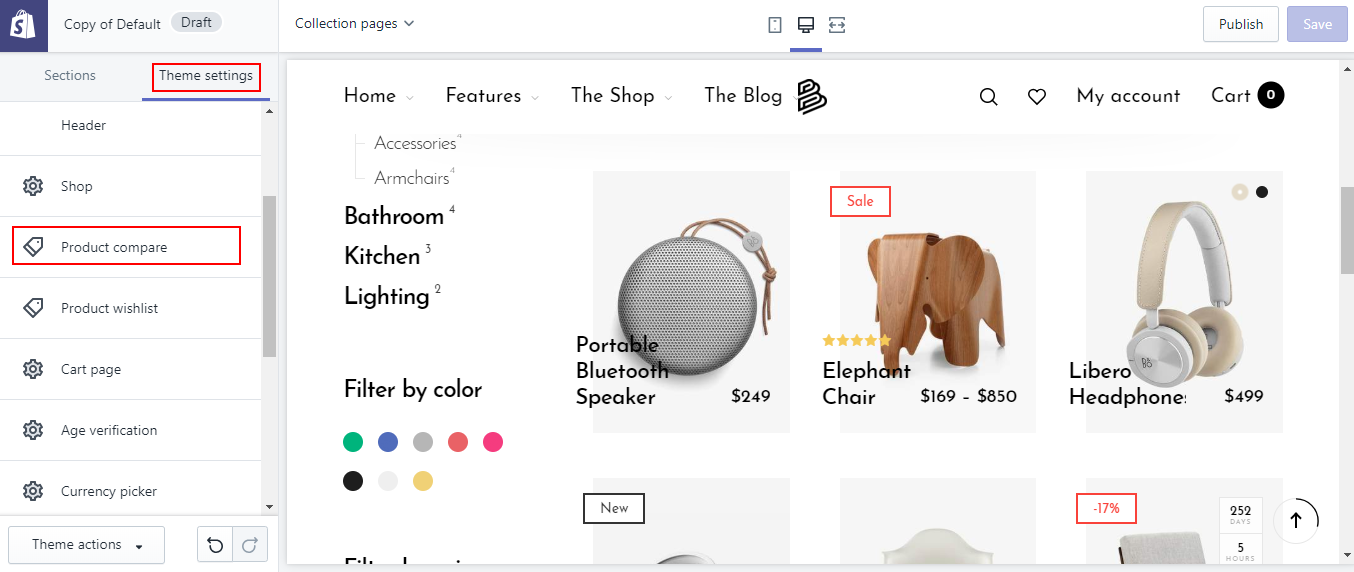
A customer only can add a maximum of 20 products.
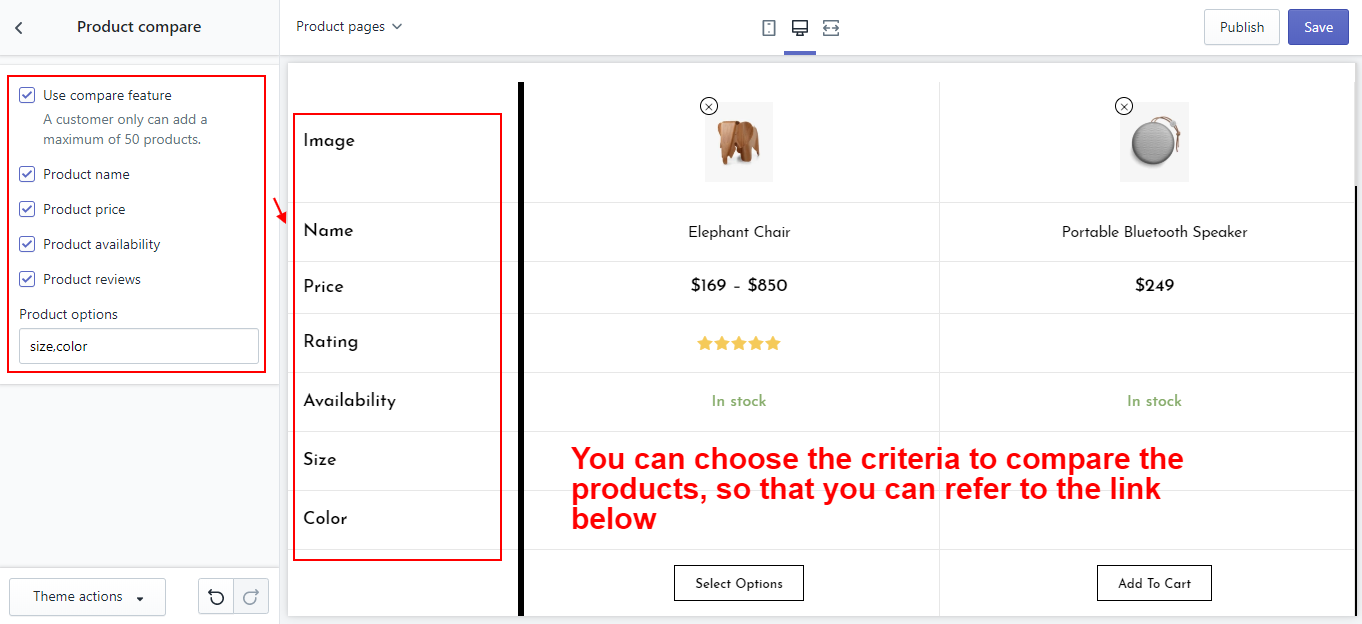
Please refer link below for details :
http://wiki.roartheme.com/utilities/#product-compare
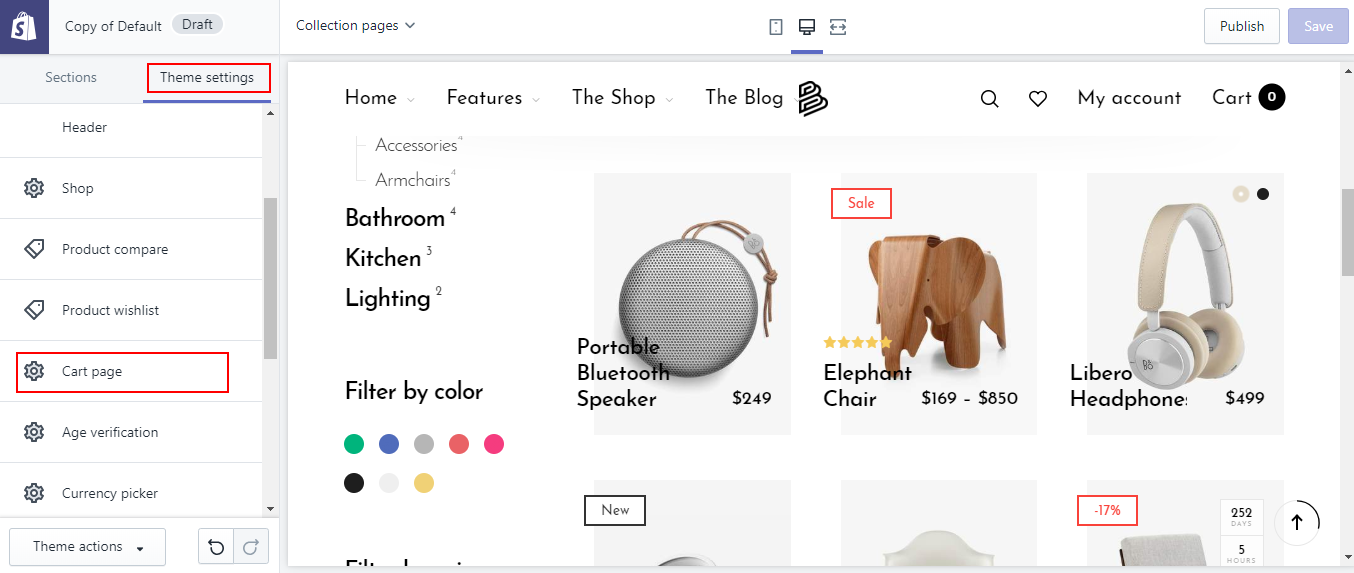
Cart page
In the Online Store / Customize, on the Theme settings tab then find and select Cart page
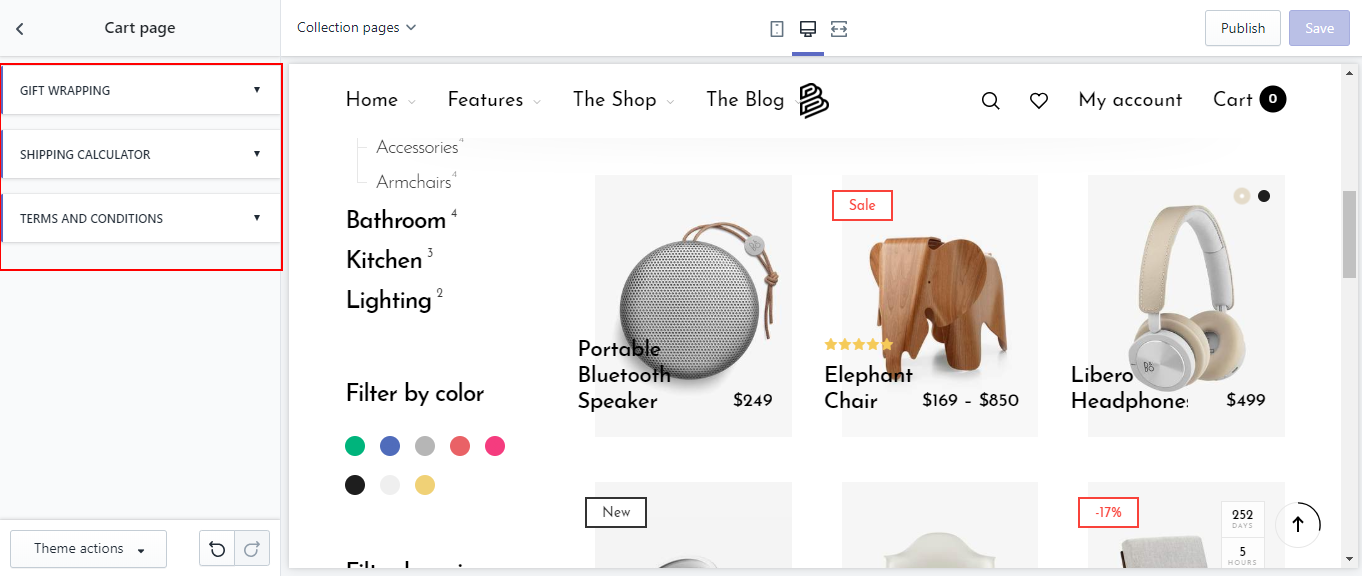
Gift wrapping
You can offer a gift wrapping service to your customers on the cart page of your online store. For customers who want their order wrapped, you can charge either a flat rate, or charge on a per product basis.
How to set up Gift wrapping?
- In your Customize Theme screen, select Home pages
- Under the Themes tab
- Click Cart page
- Click Enable gift wrapping and Choose product
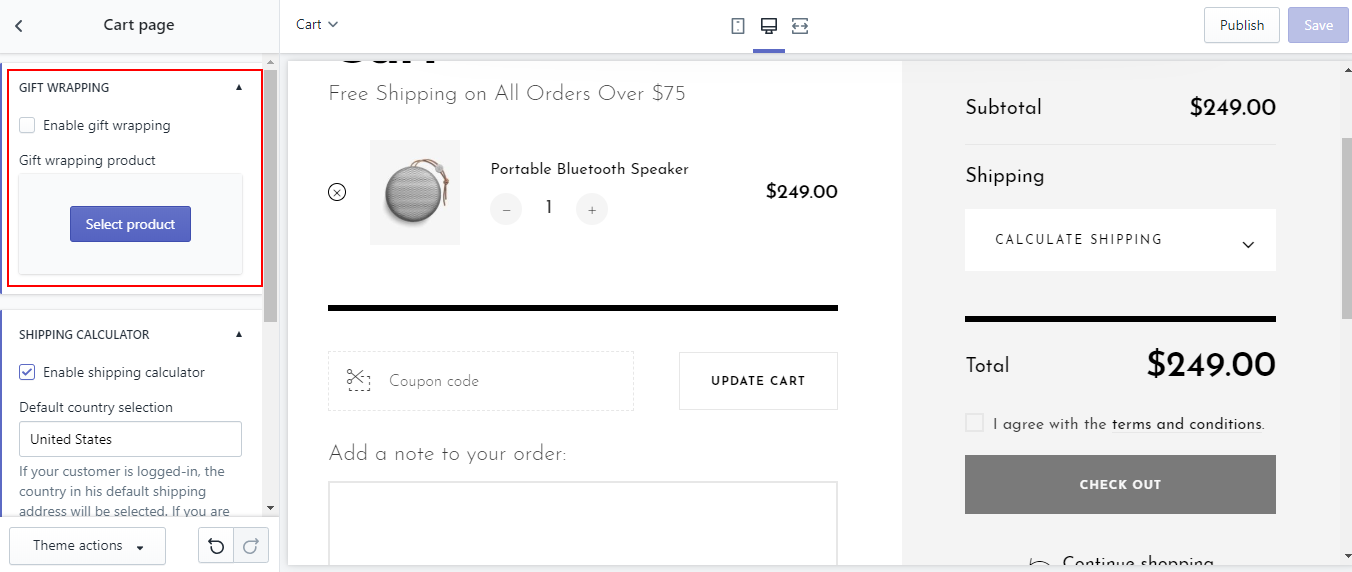
Shipping calculator
See how this store calculates the exact shipping cost for each customer: It means every customer gets a completely accurate, up-to-the-minute shipping cost tailored to them.
On Cart page click SHIPPING CALCULATOR then click Enable shipping calculator

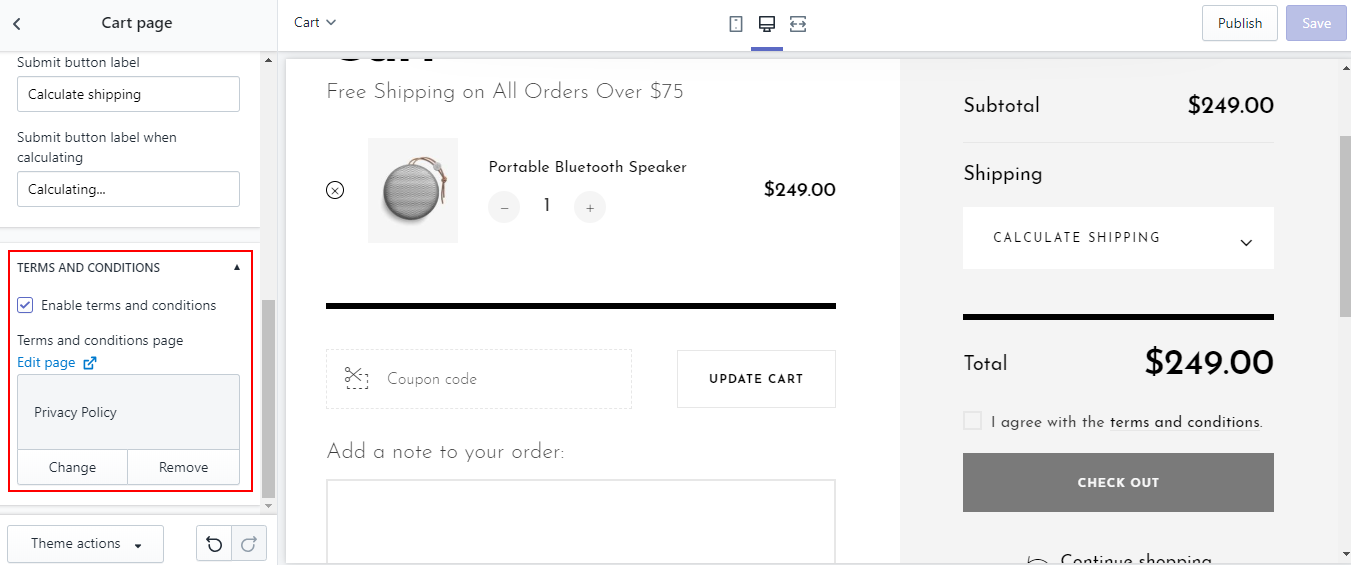
Terms and conditions
A Terms of Service is a list of rules that tell visitors what they are and aren't allowed to do while visiting your online store (such as hacking, spamming, or posting obscene comments). You'll also see this policy referred to as “terms and conditions”, “terms of use” or “terms.”
How to set up Terms and conditions?
Step 1: Create page
- In your Online Store/Pages, click Add page

- Type Title you want
- Enter your own Content (optional)
- Select Visibility as Visible if you want to make the page public
- Select TemplateL:page
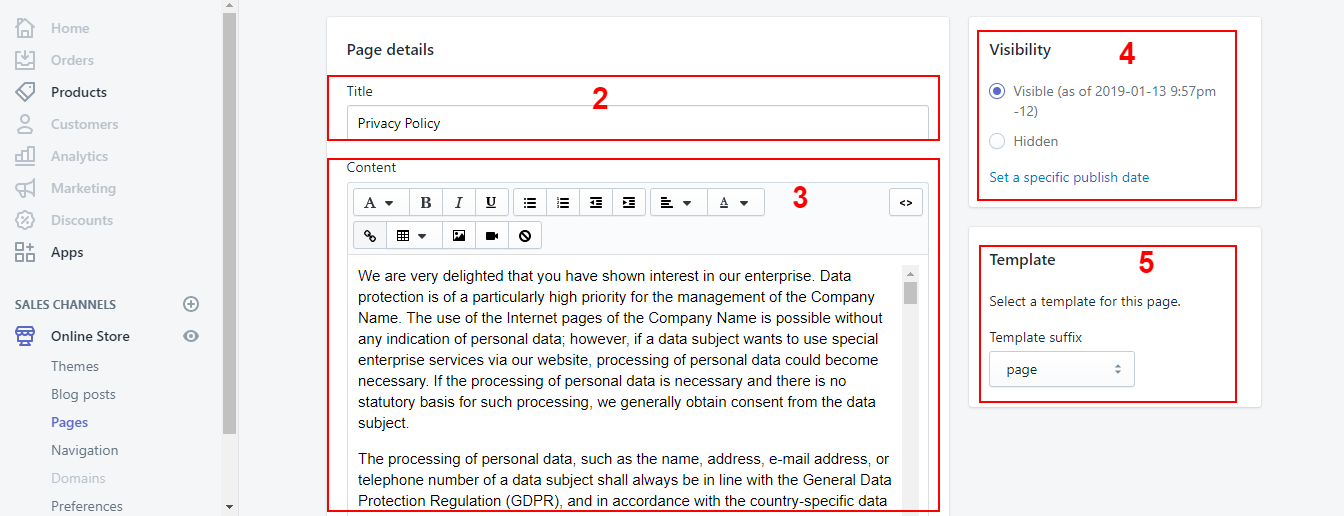
- Click save
Step 2: Enable
In the Online Store / Customize, on the Theme settings tab then find and select Terms and conditions then click Enable and Choose page
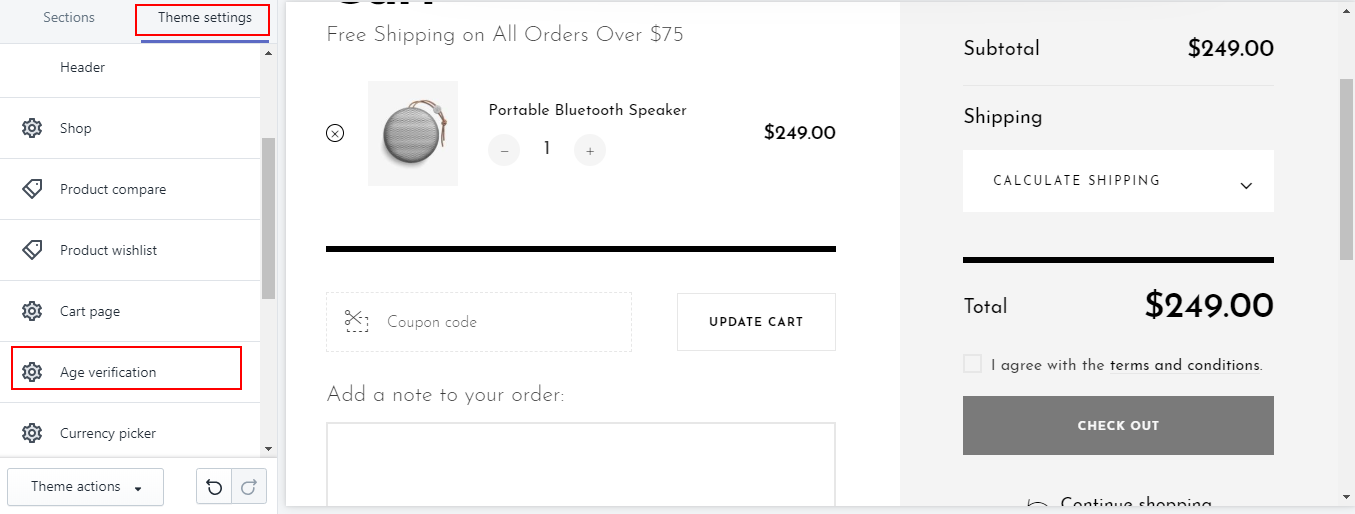
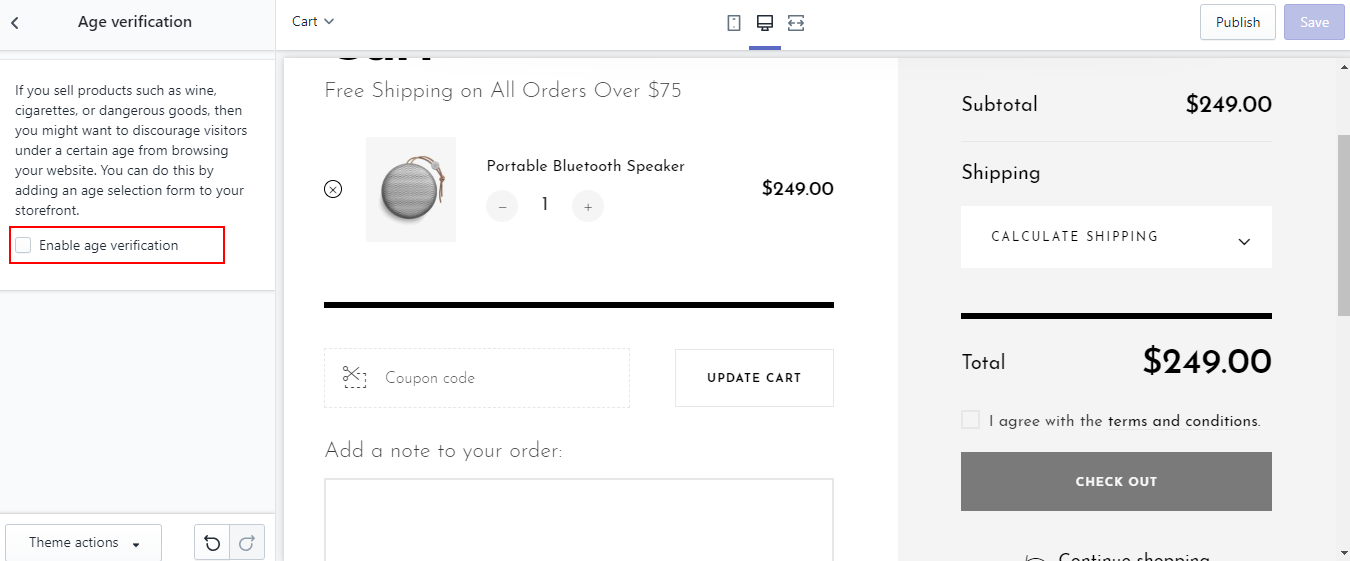
Age verification
Age Verification - Shopify. Age Verification app is the best solution for the Shopify Store owners who have some explicit products on the store and they do not wish to display these products to the specific customers under a certain age.
If you sell products such as wine, cigarettes, or dangerous goods, then you might want to discourage visitors under a certain age from browsing your website. You can do this by adding an age selection form to your storefront.
In the Online Store / Customize, on the Theme settings tab then find and select Age verification
Then click Enable Age verification
Product wishlist
This theme comes with a wishlist app called RT-Wishlist, which is developed by RoarTheme. If your Material theme license is legal, you have the right to use it for free.
To use Wishlist, you have to finish 2 steps:
Step 1: Install RoarTheme Wishlist App
Go to https://apps.shopify.com/rt-wishlist to get the app. If you are prompted to log into your store, just do it.
Enter the purchase code of your theme & click Save. If you don't know how to get the purchase code, please refer here
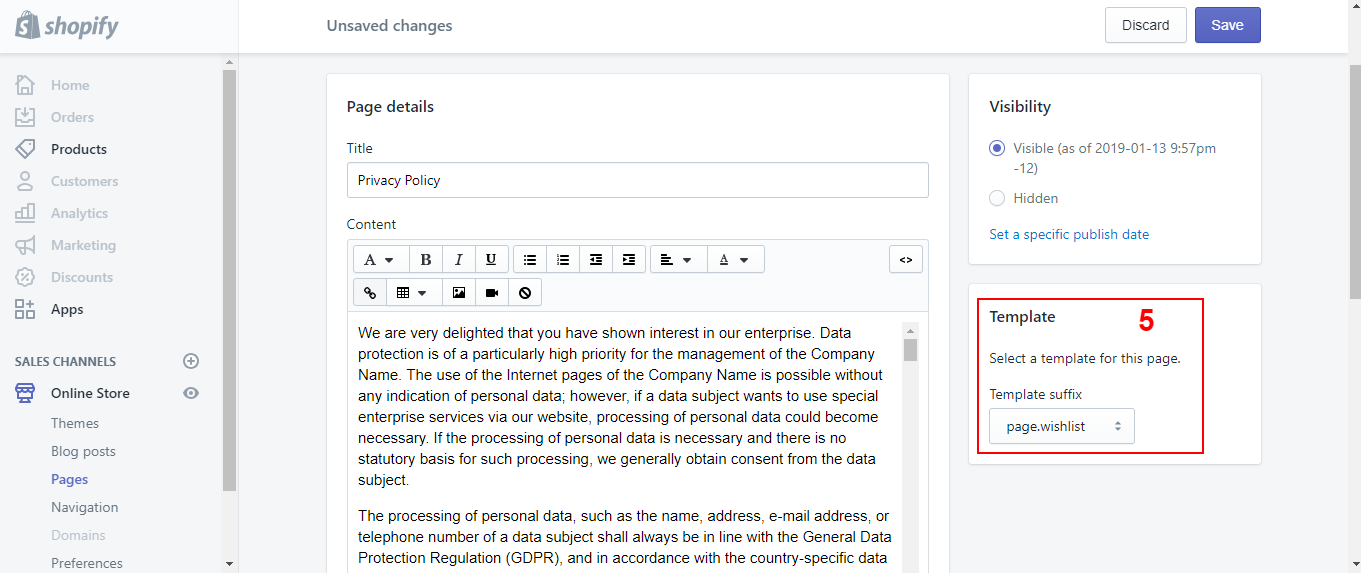
Step 2: Create a page for Wishlist.
Create Wishlist Page
Just do the same as create page for Terms and conditions mentioned above, however in Step 5, please select Template as page.wishlist
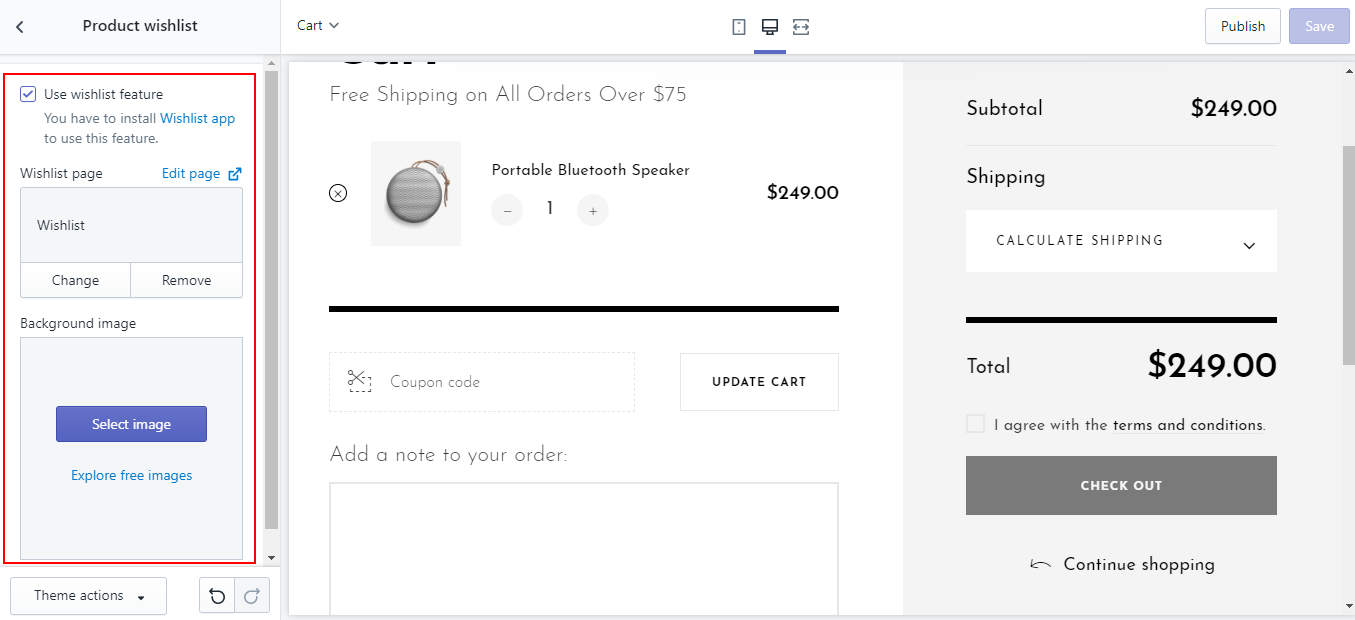
Go to: Customize theme > Theme settings>Wishlist Page and choose the page you just created
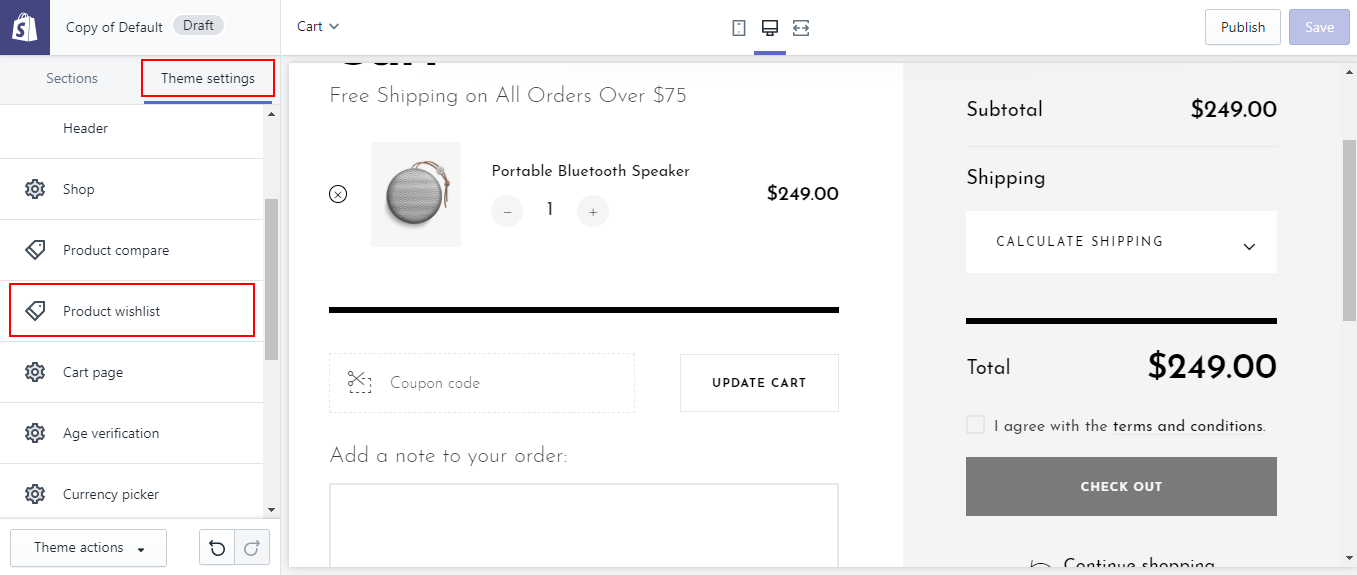
Finally Enable and select page for Wishlist.
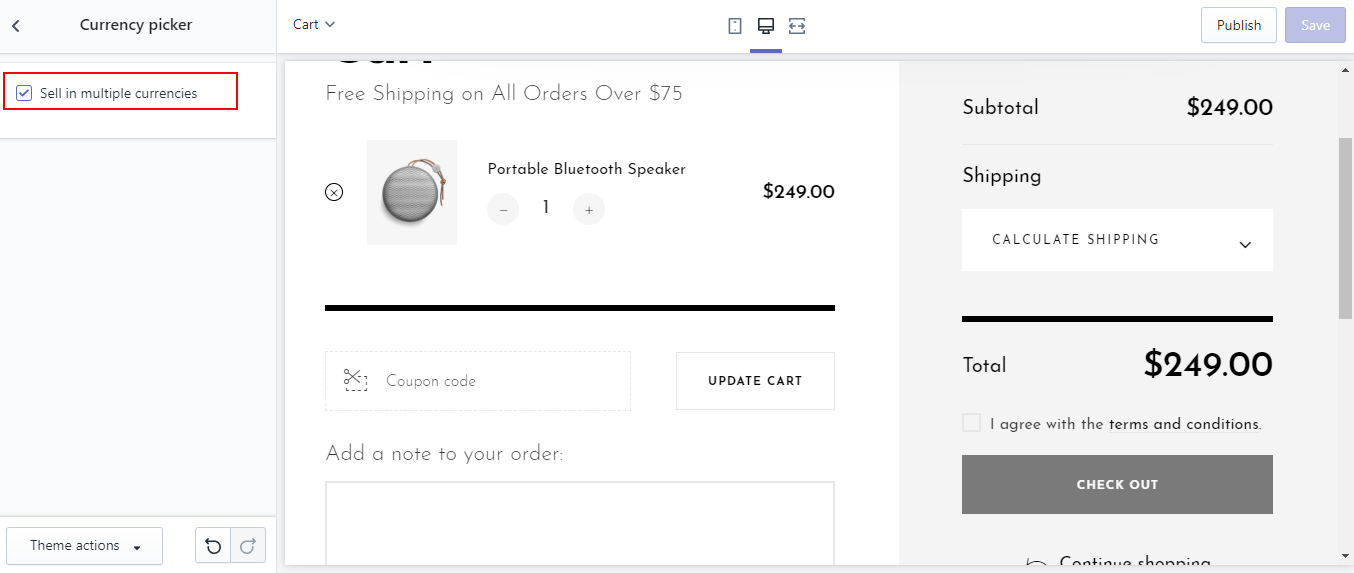
Currency picker
Selling in multiple currencies is supported in your online store only. Draft orders are always in thecurrency of your store. Similarly, Shopify POS only supports your store currency. You cannot sell in multiple currencies in any channels (including the Wholesale channel).
In the Online Store / Customize, on the Theme settings tab then find and select Currency picker
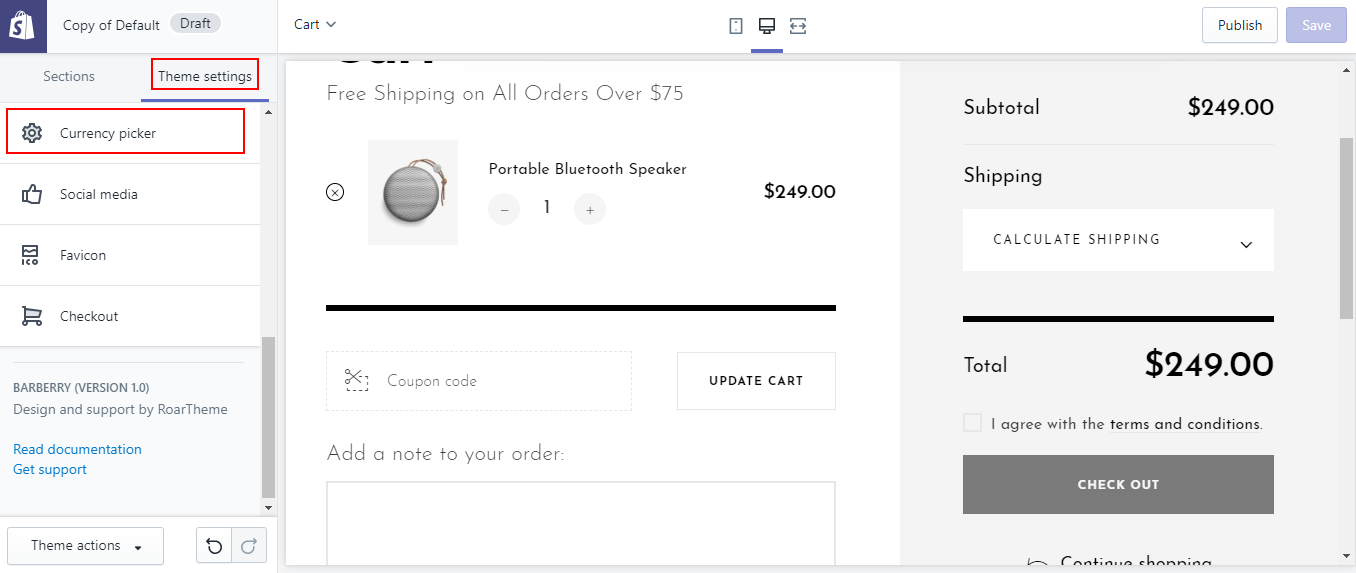
Then click Sell in multiple currencies
Important: And for the Currency picker to show you need to add an add Currency picker in the header
Online store -> Customize -> Theme settings -> Header -> Add content -> Currency picker

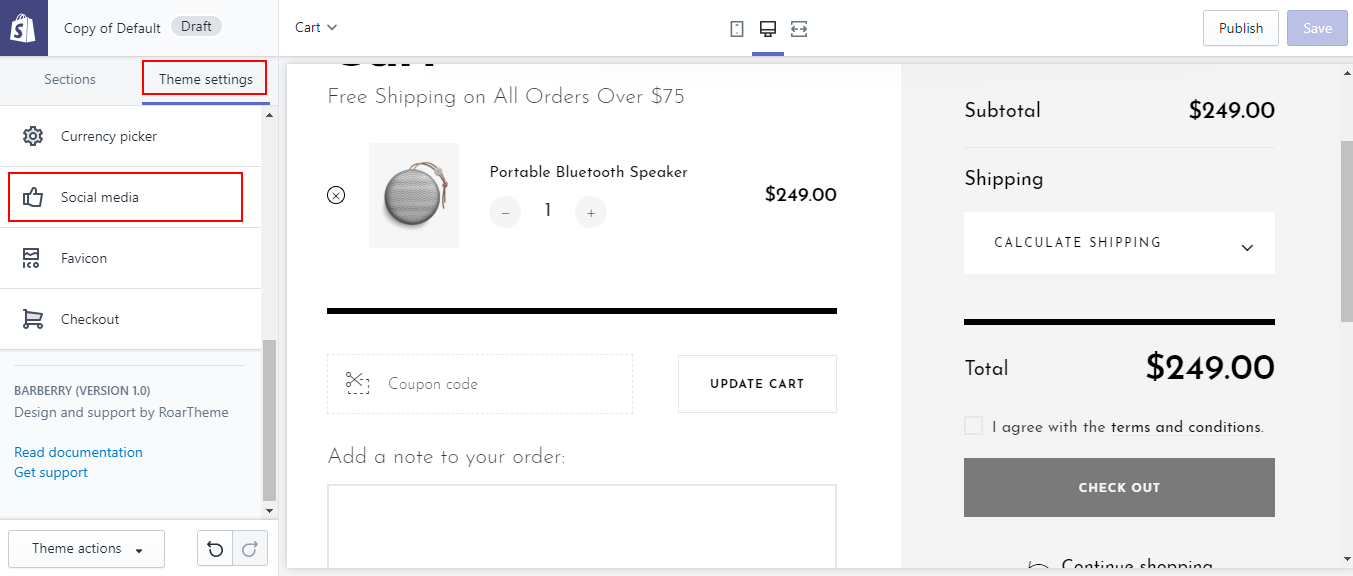
Social media
In the Online Store / Customize, on the Theme settings tab then find and select Social media
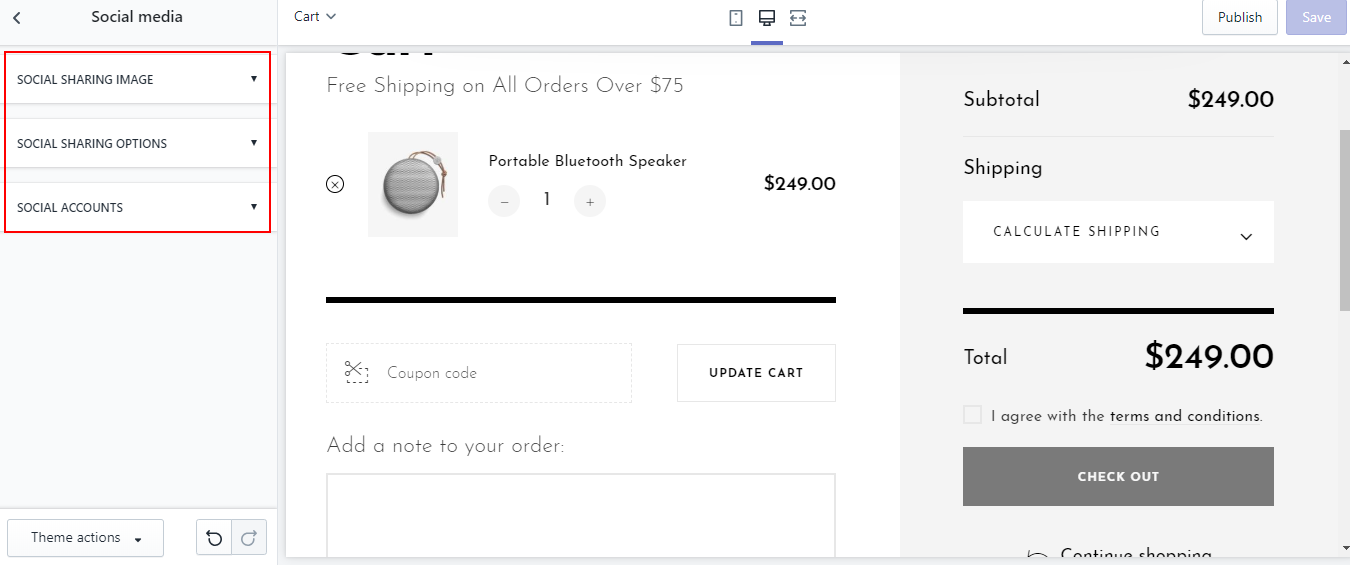
Social sharing
In the Online Store / Customize, on the Theme settings tab then find and select Social media then click Social sharing
Shown when sharing a link on social media. Learn more about image thumbnails.

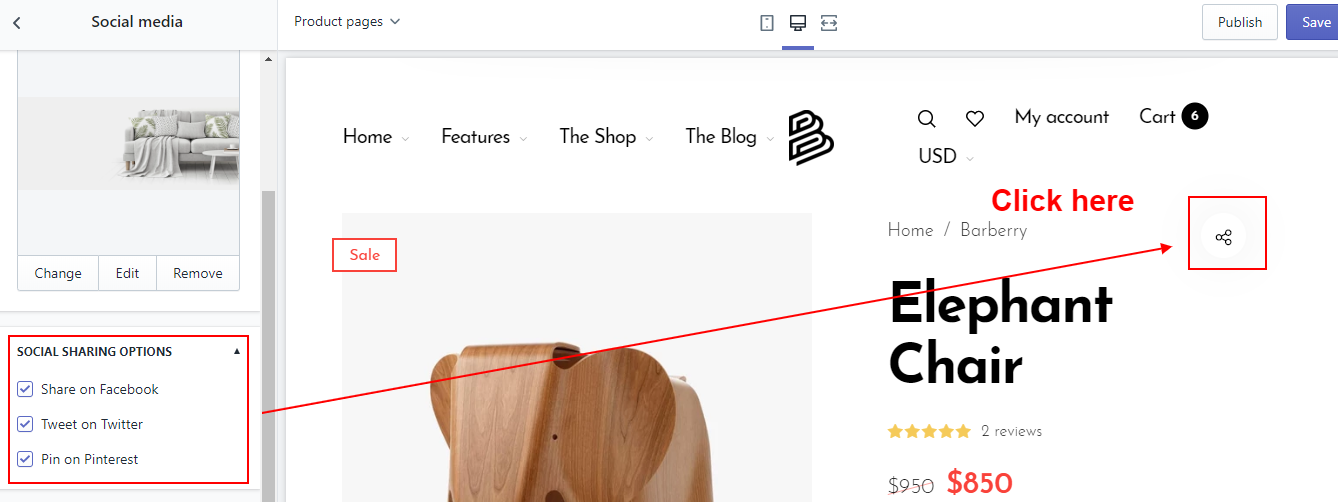
Social sharing option
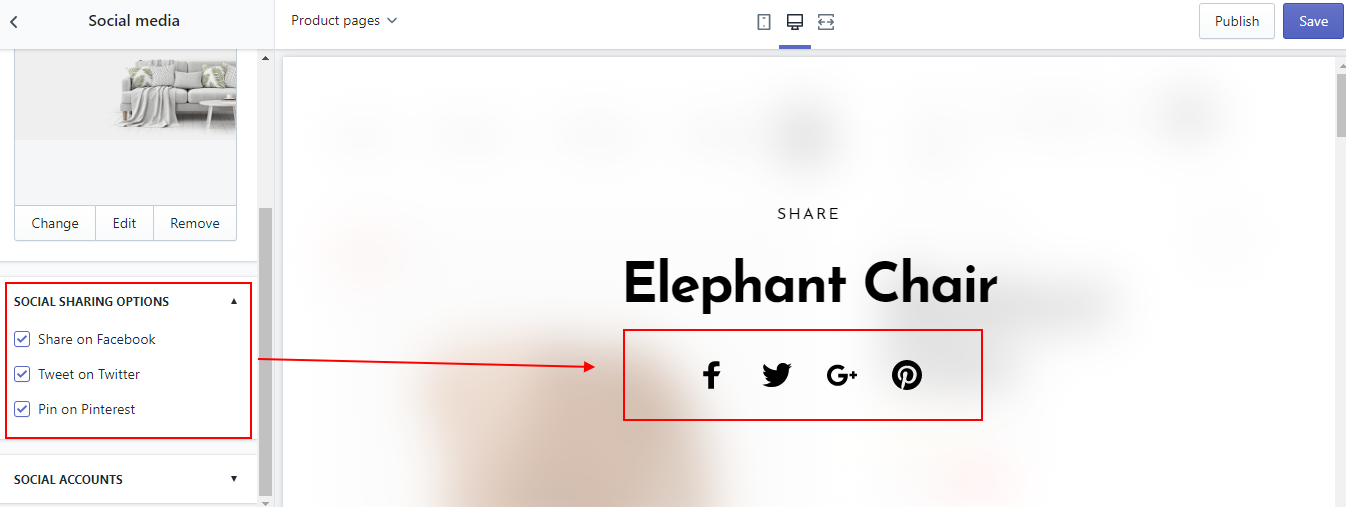
In the Online Store / Customize, on the Theme settings tab then find and select Social media then click Social sharing option
Social account
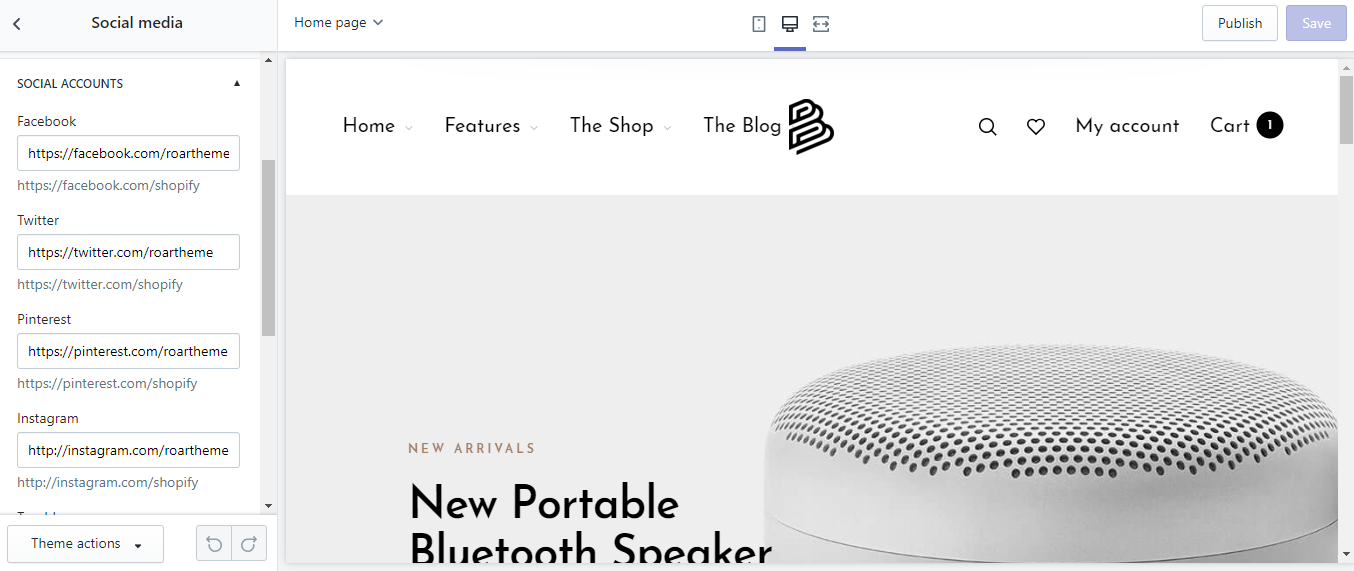
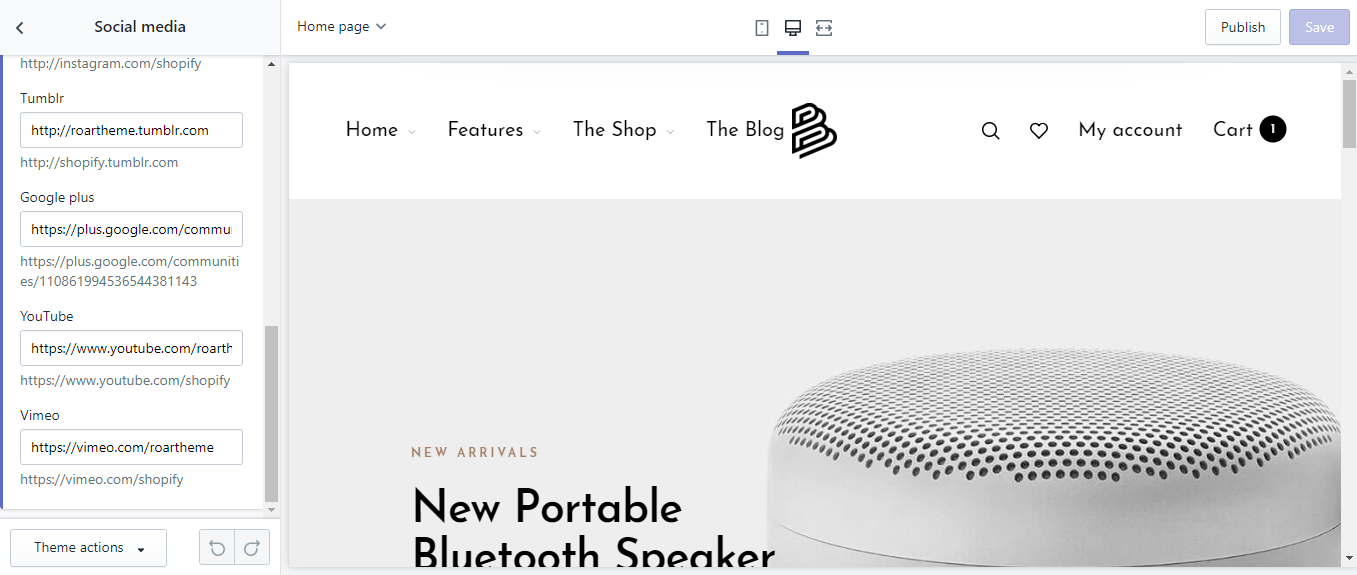
In the Online Store / Customize, on the Theme settings tab then find and select Social media then click Social account
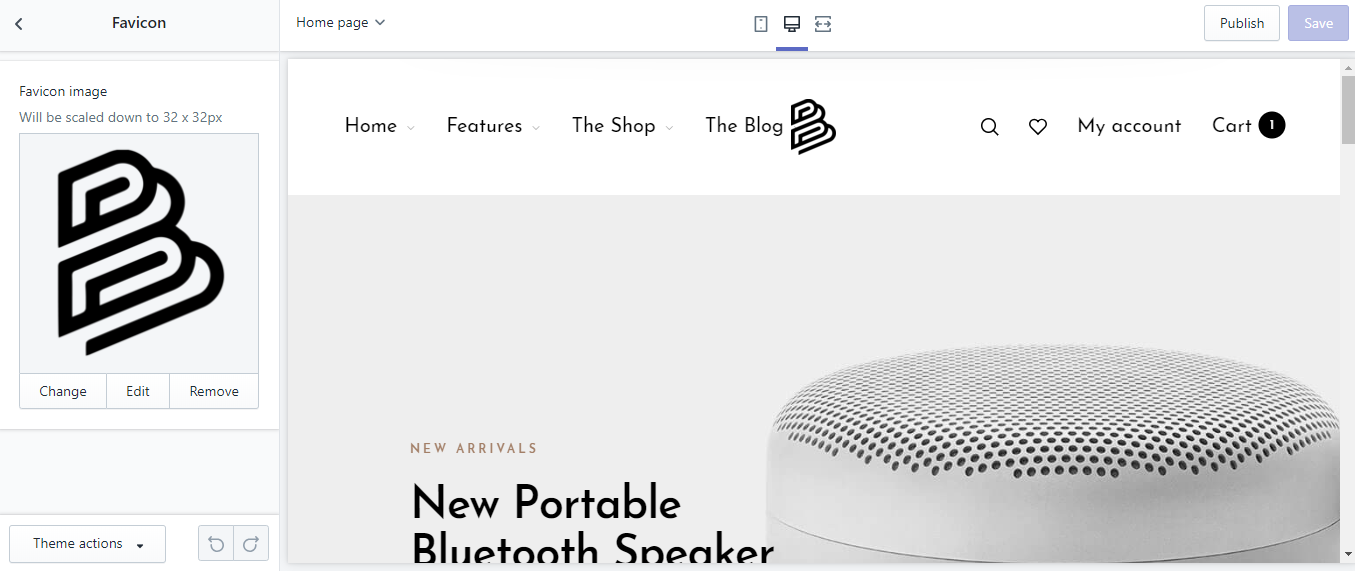
Favicon
In the Online Store / Customize, on the Theme settings tab then find and select Social media
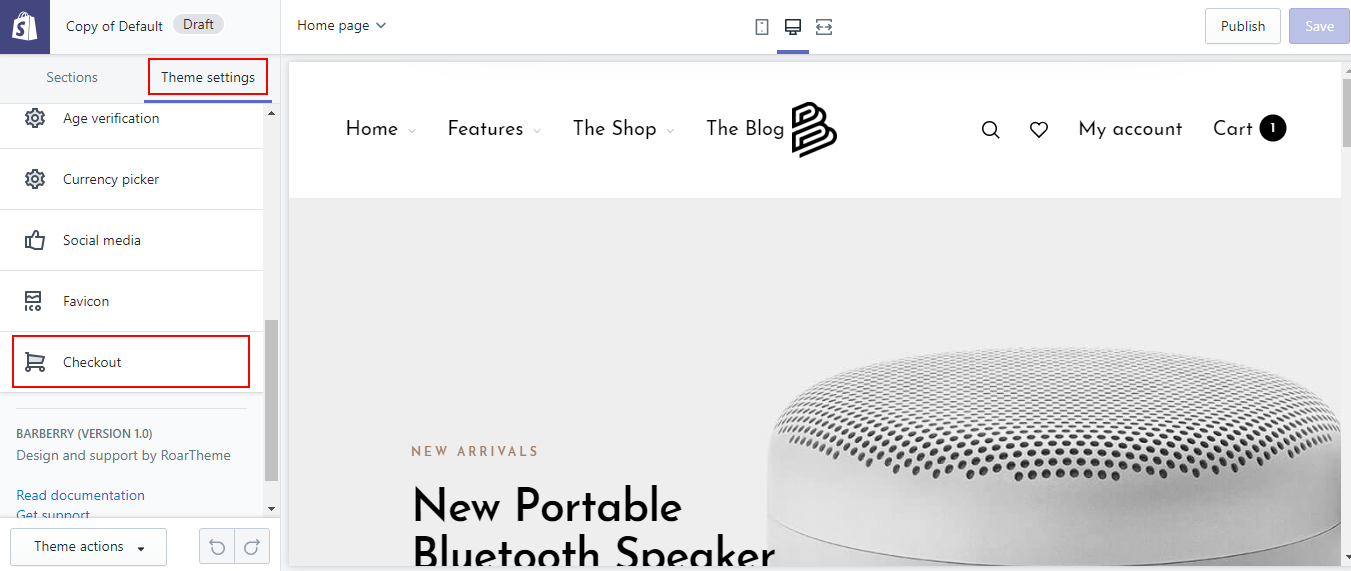
Checkout
In the Online Store / Customize, on the Theme settings tab then find and select Checkout